By Peter Barber
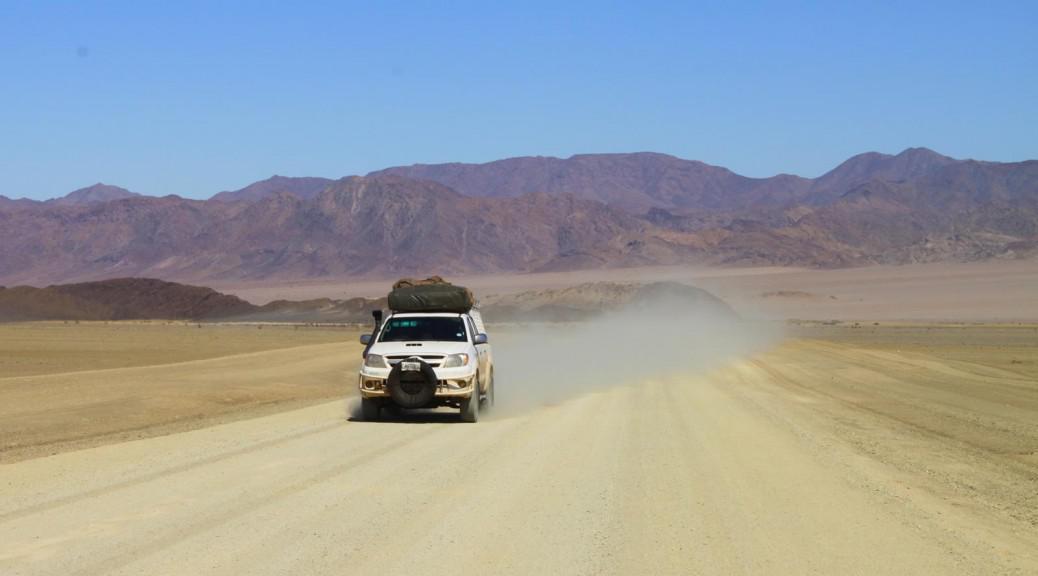
Overlanders love travelling the back roads but driving off the beaten track inevitably means driving gravel roads…. and having everything covered in dust when you arrive at your destination after a long day’s drive.
During our seven month overland trip last year I took great care to dustproof our canopy as best I could before we left. I ensured that all the canopy doors catches were tightened up as much as possible (whilst still allowing the doors to close properly) so that the doors fitted snugly to the canopy frame and compressed the rubber seals.
However, the rubber seals gradually deform, don’t go back to their original shape and can let dust through eventually. If I had the time I would have tightened the door catches again after leaving the new canopy in the sun for a few weeks.
Instead, with a head torch and marker pen, I climbed inside the canopy and got someone to close all the doors properly. I looked for chinks of light and marked these areas with the pen. This is done best with the canopy out in bright sunlight or at night with a bright torch shining on the external sealing surfaces.
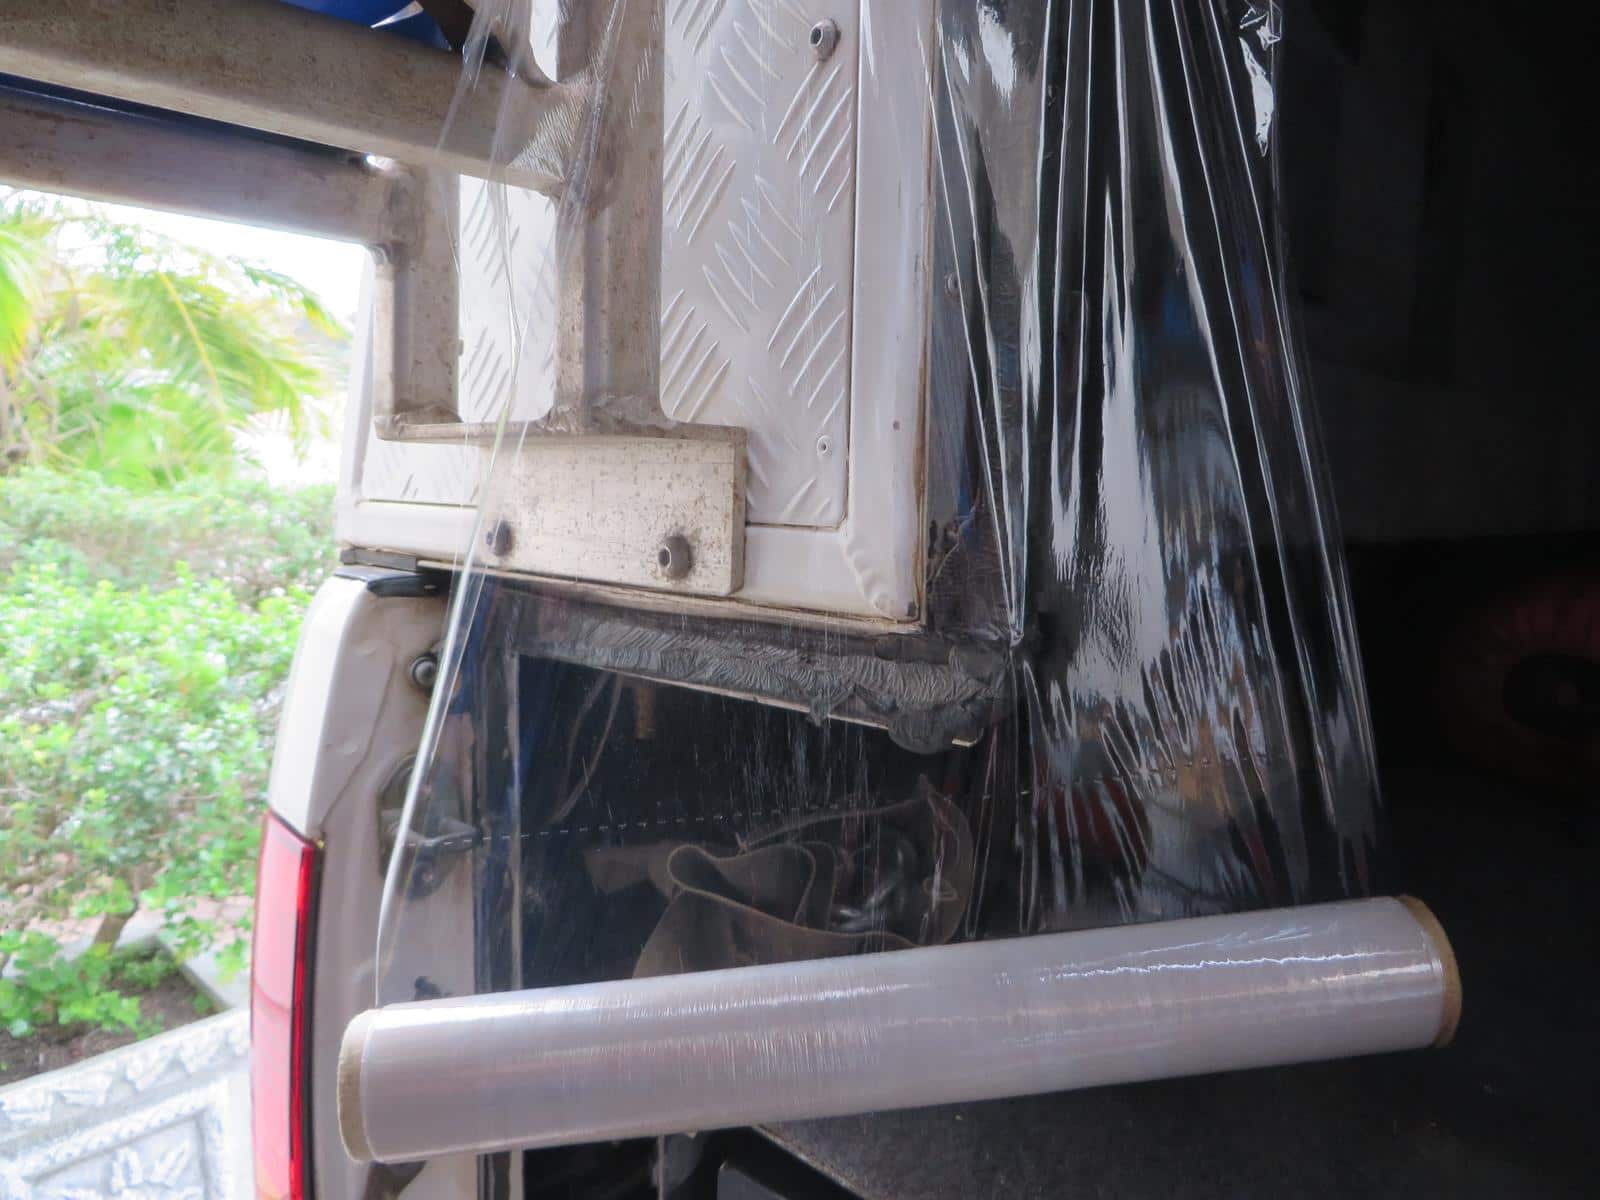
Once I identified where the light came in, I cleaned the rubber seals and let them dry. Then I got some Silicon sealant , cling wrap and a helper, choosing a wind free day otherwise the sticky cling wrap would get tangled with itself.
I applied a generous seam of sealant to the areas where the door seals would touch the opposite sealing surface and especially where I had seen light. Then I placed a layer of cling wrap over it and gently ensured that it stuck without over compressing the seam (you want the door seals to do this). I would advise you to finish all the sections on one door and then close it, applying just enough pressure to get the catches to ‘catch’. If you ‘over push’ the door closed it will squeeze out more sealant than it should and when the door returns to its ‘normal’ closed position when you stop pressing it, there will be a gap.
Once dry, I opened the doors, removed the cling wrap and got inside to check for the entrance of light again. (If you still see light, repeat this process.) The rear door is the most important one to do because of the dust vortex effect at the rear of the vehicle.
This procedure worked pretty well for us, but finally the doors started leaking dust again and I couldn’t summon the energy to repeat the exercise more than twice during the trip. It is still not clear to me why our canopy was okay for a while and then leaked again. Eventually we ended up putting a sheet of plastic between the tailgate and our gear which kept most of the dust off it, but it was messy and inconvenient every time we opened the back door and tailgate.
Dust proofing the tailgate
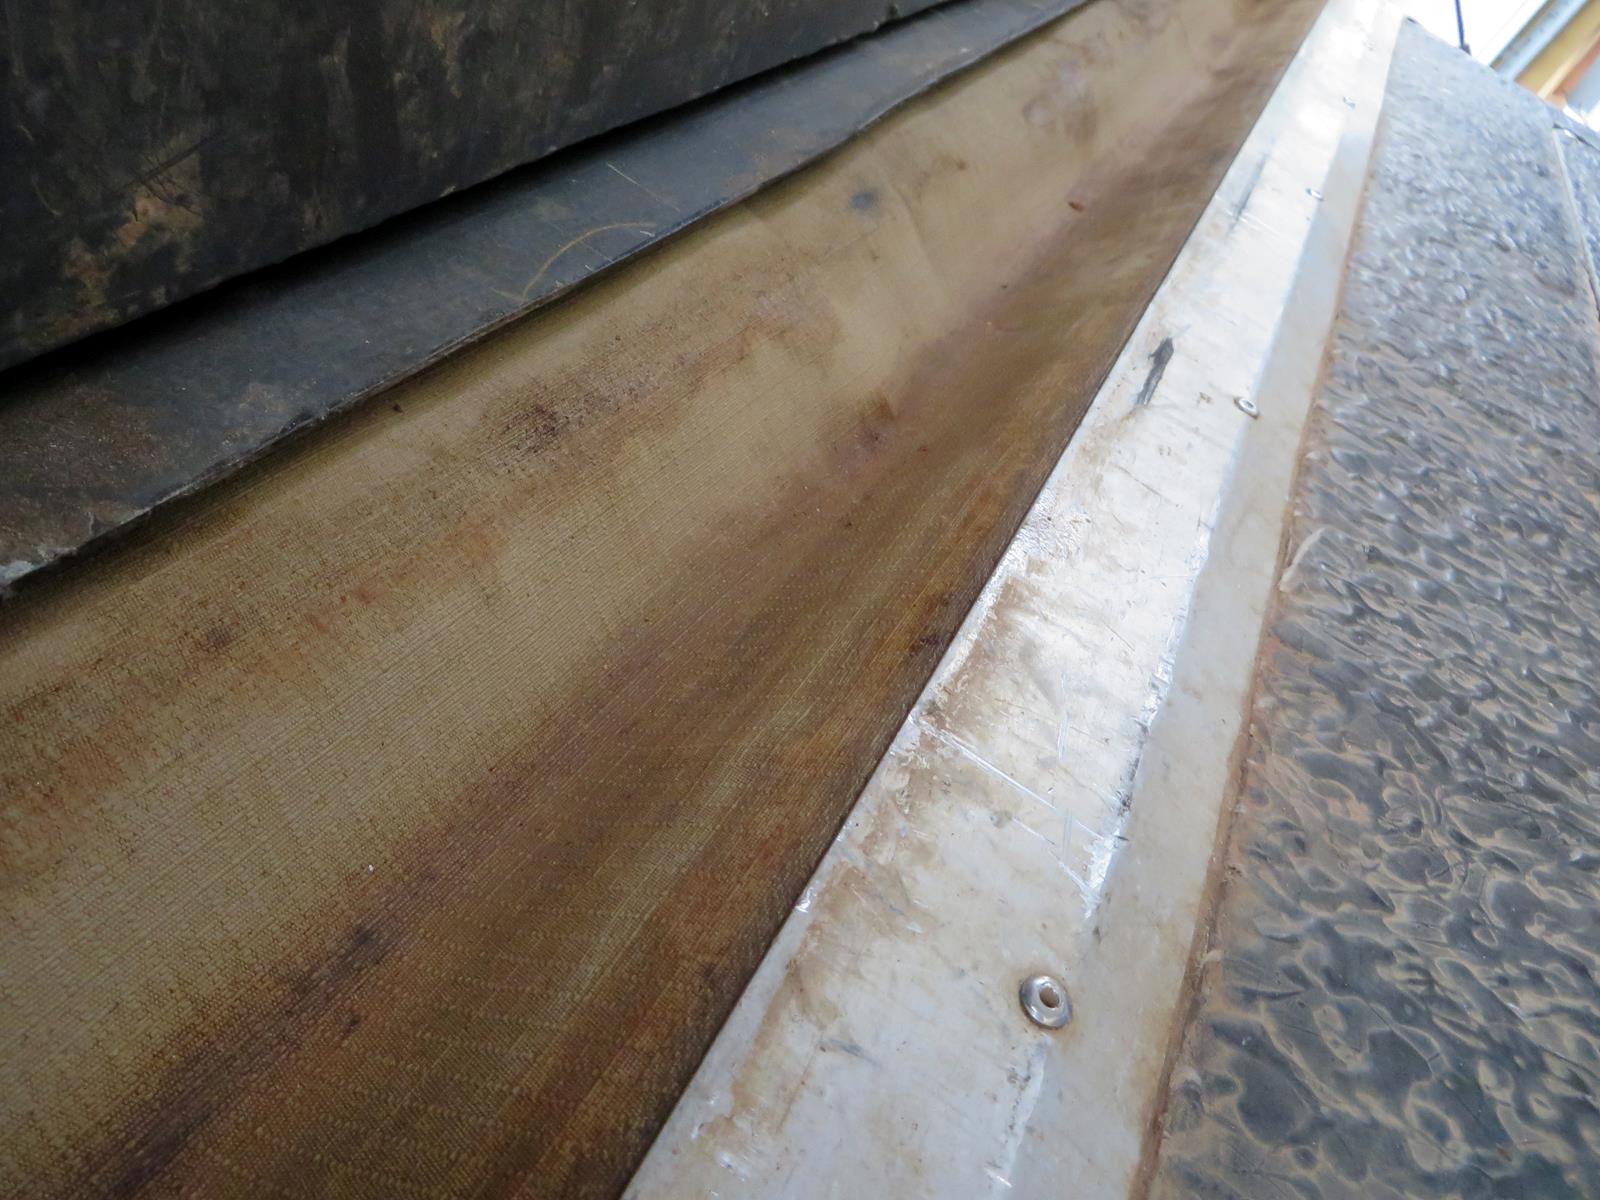
You need to have all the sealing surfaces overlapping each other to have a chance of a good seal. So where for example the tail gate closes adjacent to the sides of the load box, you should pop rivet aluminium plates onto the inside of the load box onto which you stick self-adhesive rubber, then apply the sealant bead to this rubber surface and close the tailgate against this.

At the bottom of the tailgate, where it hinges, cut a piece of canvas long enough to overlap each side of the tail gate by about 6cm and wide enough to generously cover the gap between the tailgate and the load box. Pop rivet one edge of this long strip to the tailgate, holding it in place with a strip of aluminium. We tucked the opposite side a few cm underneath our fridge and sliding drawer boxes and kept it there by stuffing foam rubber in with it. That was good at keeping out dust along the bottom edge of the tail gate.
(Please share your ideas of dust proofing your canopy with our readers – Editor)

We have traveled the length and breadth of Southern Africa with no dust problem in the canopy. How come: A good many years ago a friend traveled for 50 km’s in his canopy on a dirt road and tried all windows and openings. Result: open window at front (or side) about 50 mm. No dust and no significant requirements for sealing tail gate (difficult) or other smaller cracks. Also no water inside with front window open. Same result on Cruiser with canopy camper unit (no windows) with air-vents fitted to front.
We have also used a forward facing vent with an automotive air filter clamped inside to exclude dust created by other vehicles. Works very. Derek
I found a roof vent effective.it creates a positive air pressure inside as u drive keeping dust out. Or just open the canopy window between the cab and the canopy a crack
Best way to do it
Kevin, I have heard that it helps to open the canopy window a crack, but our custom-made canopy does not have any windows. We found that the roof vent did not make a significant difference.
Is your roof vent forward facing towards the front of the canopy.i get no dust at all through the tail gate and its got 5mm gaps
The forward facing vent would work a treat ! Unless you following a mate, Then you would be eating his dust.
Very very useful tip! The dust drives me (and my wife) nuts. I will definitely give it a go before my next trip. Thanks.
Question: how will the cling wrap release from the silicon sealant when you want to get it off?
Frank, the cling wrap peels off easily once the silicon is dry.
Thanks Karin. Will give it a go.