It’s no wonder ‘Africa ready’ 4×4’s are in such high demand and that the rental companies do such good business hiring them out. It takes knowledge and experience, in our case both gained through generous advice, to determine what you need, where to find it and then plenty of time to get it all done.
A few hours spent at the 4×4 outfit centres in Cape Town showed us that there appeared to be two ways of fitting out a vehicle and that the sales staff was quite happy to advise the unlimited budget option. We preferred to look for more cost-effective solutions, avoiding the brand names wherever possible.
Choice of tent
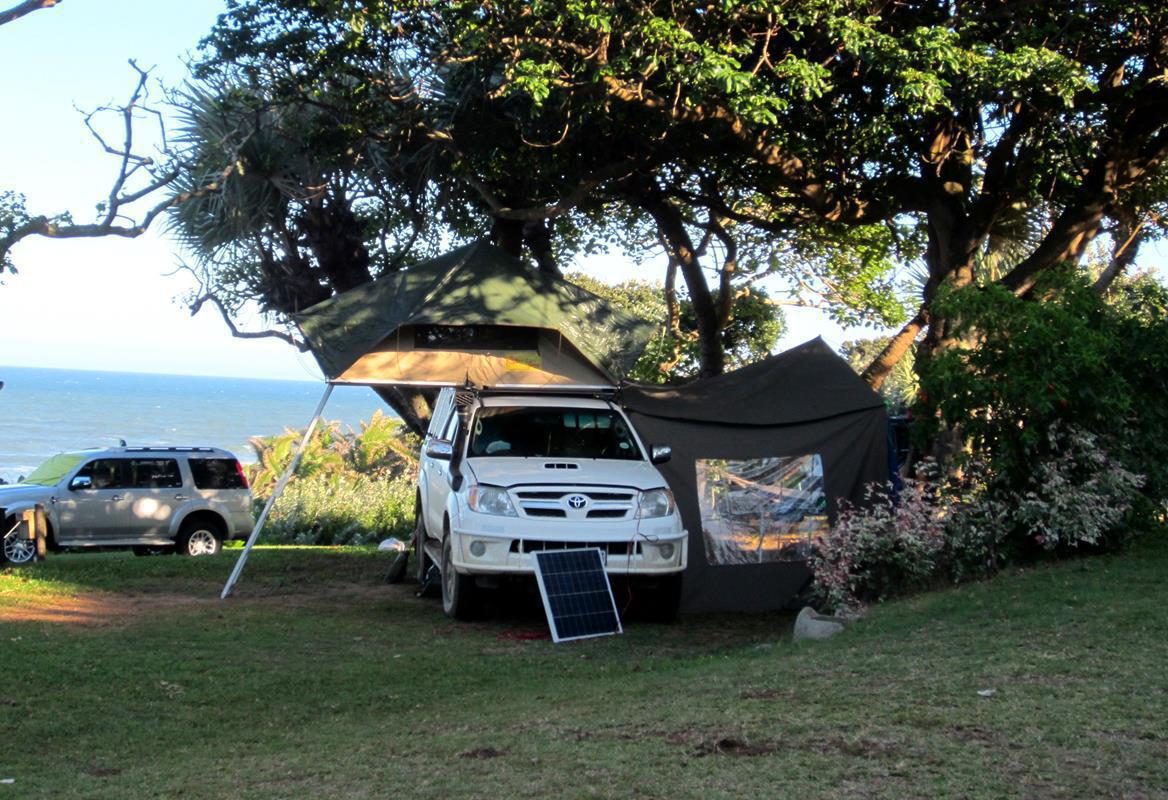
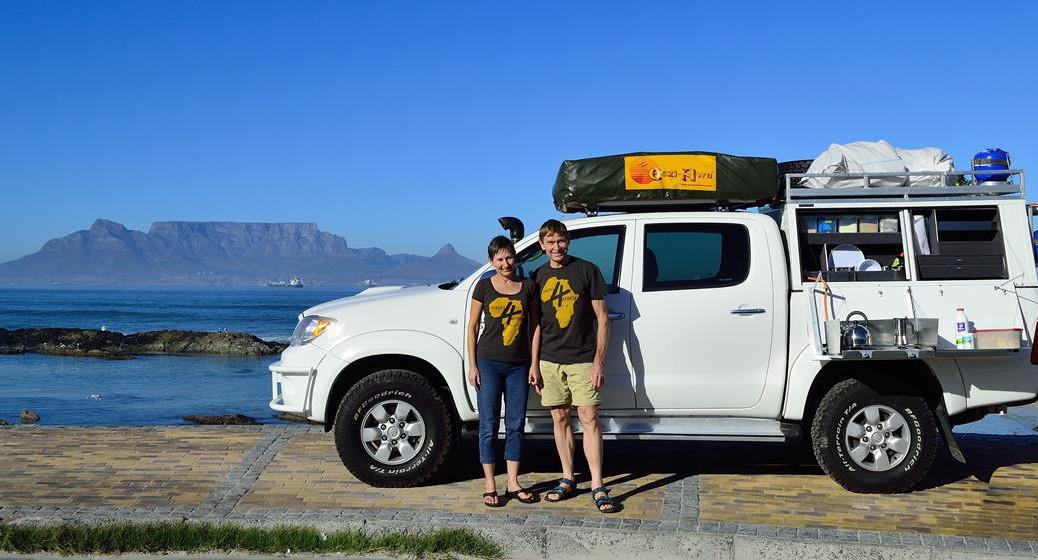
The debate over roof top accommodation had been simmering between us for some time and the starry-eyed hopes of a pop up top were dashed once we learnt that it wouldn’t fit on a Hilux double cab if we also wanted roof rack space. Once we started looking it seemed that every fourth vehicle on the road carried a roof top tent. We didn’t go for the cheapest option but rather spent a bit more and felt confident that we bought a good quality tent.
Not wishing to fit a second roof rack, we opted for the lighter load bar which has worked perfectly thus far as a mount for this tent.
Advice from friends encouraged the acquisition of a large ground tent (and vestibule) for those occasions when we decided to layover for a while and do some early morning game viewing. We have on occasions thought this to be a ‘nice to have’, but then change our minds when we hit a patch of wet weather and needed to stand over for a few days, or, as now, when our rooftop tent is unavailable whilst the vehicle is on blocks in the service bay.
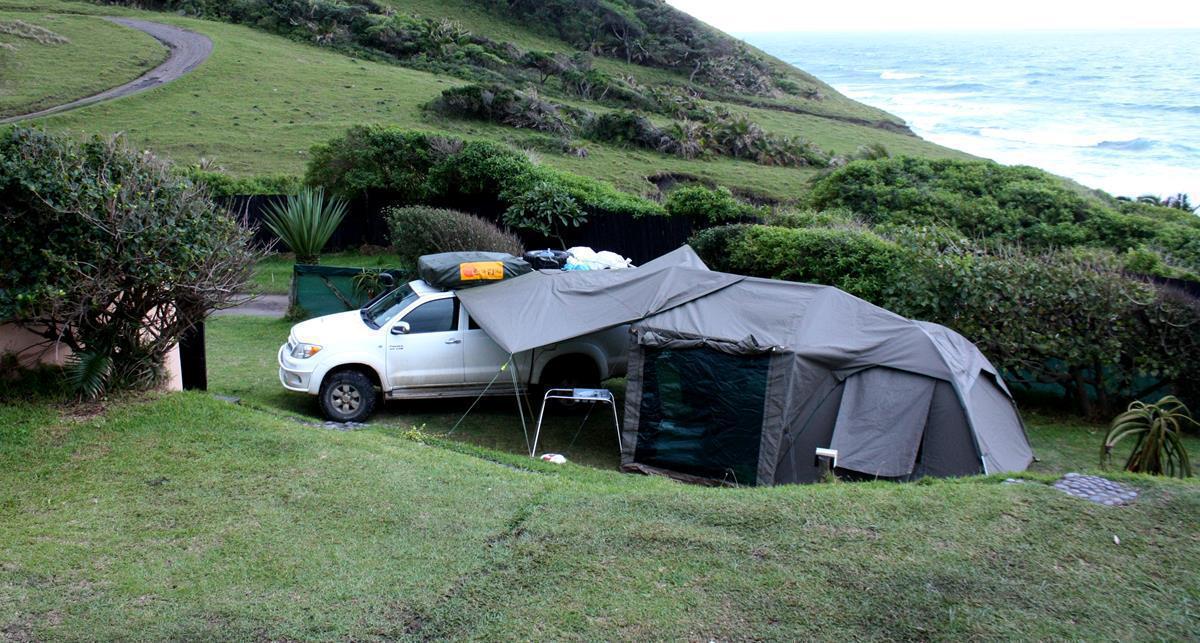
However, without a doubt the rooftop tent is our firm favourite. It’s very well ventilated, out of any mud and takes only about five minutes to erect and take down.

The canopy
An earlier visit to canopy manufacturers encouraged us to cast our net wider in the hope of finding someone who could fabricate what we wanted quickly and reasonably. Whilst considering the ready-made aluminium and stainless steel options, we found a ‘metal artist’ in Diep River who had just produced two canopies. Surprisingly he was available at short notice. We reserved a production slot for early January which meant we only had a few days to come up with a design.
We decided that the front profile of the canopy would mirror that of the cab. Two rail systems inside the roof of the canopy would hold the folding table (to pull out of the right side door) and solar panel (to pull out to the rear).
On the left side of the canopy one long door, with cantilevered supports, would fold down to accommodate a removable kitchen unit (to be garaged when not in use to free up the load box). This would provide storage for crockery, cutlery, frequently used items like tea, coffee etc. as well as a flip down two burner gas stove with collapsible wind shield and adjacent working surface. A swing arm would supply subdued and internally angled yellow LED lighting which would help keep insects away and not blind the cook.
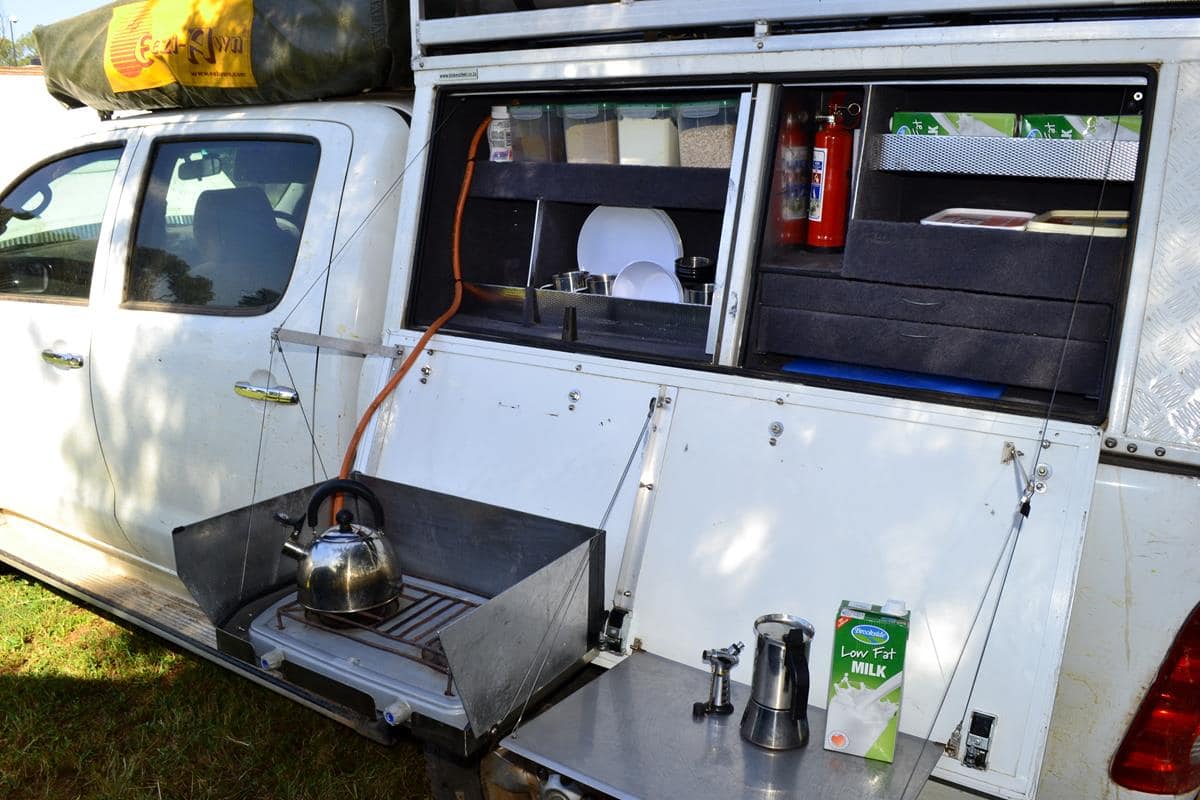
The first stage of dust proofing the canopy took place with a water test after manufacture, tightening up the canopy door locks to minimise leaks. Still, a small amount of dust entered from the rear, so Pete climbed inside, closed all openings and identified chinks of light as points to focus on. We then cleaned the rear door rubbers, applied a generous layer of black silicon sealant, covered this with a single layer of ‘Glad Wrap’, closed the doors and allowed it to set. After several such efforts on the trip almost no dust enters.
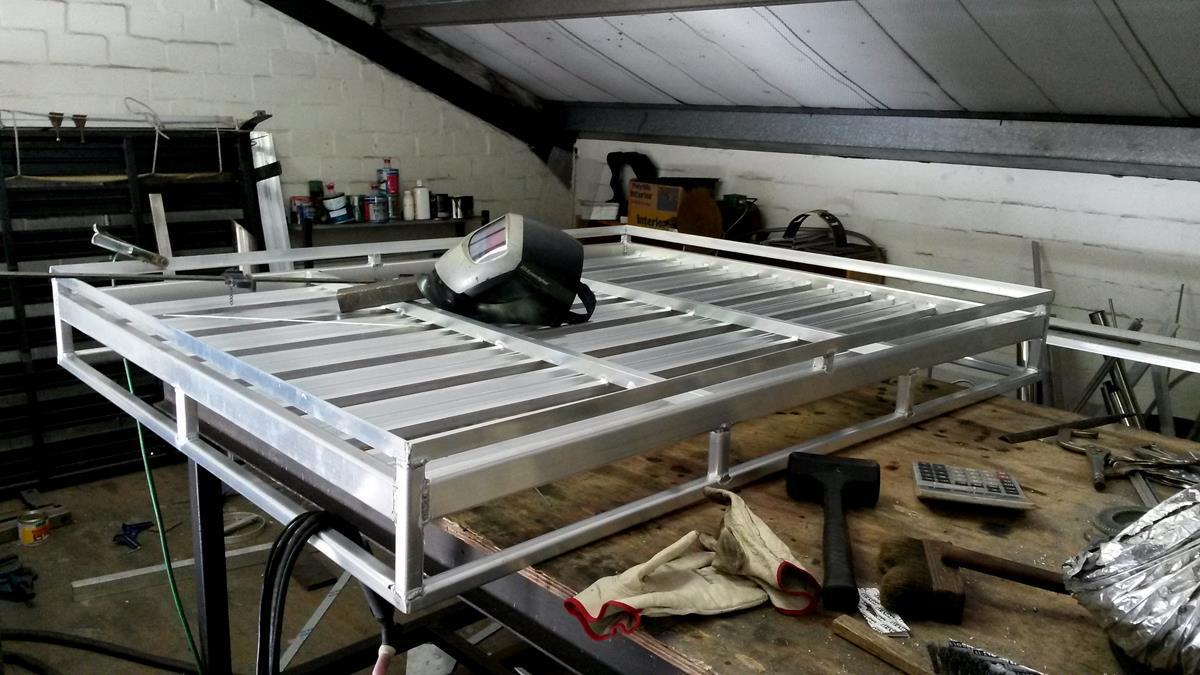
A final ‘nice to have’ was a matching white epoxy paint job over the aluminium canopy chequer plate, reducing glare and keeping the interior cool, which would be further shaded by an aluminium roof rack with wide rails.
Water tanks
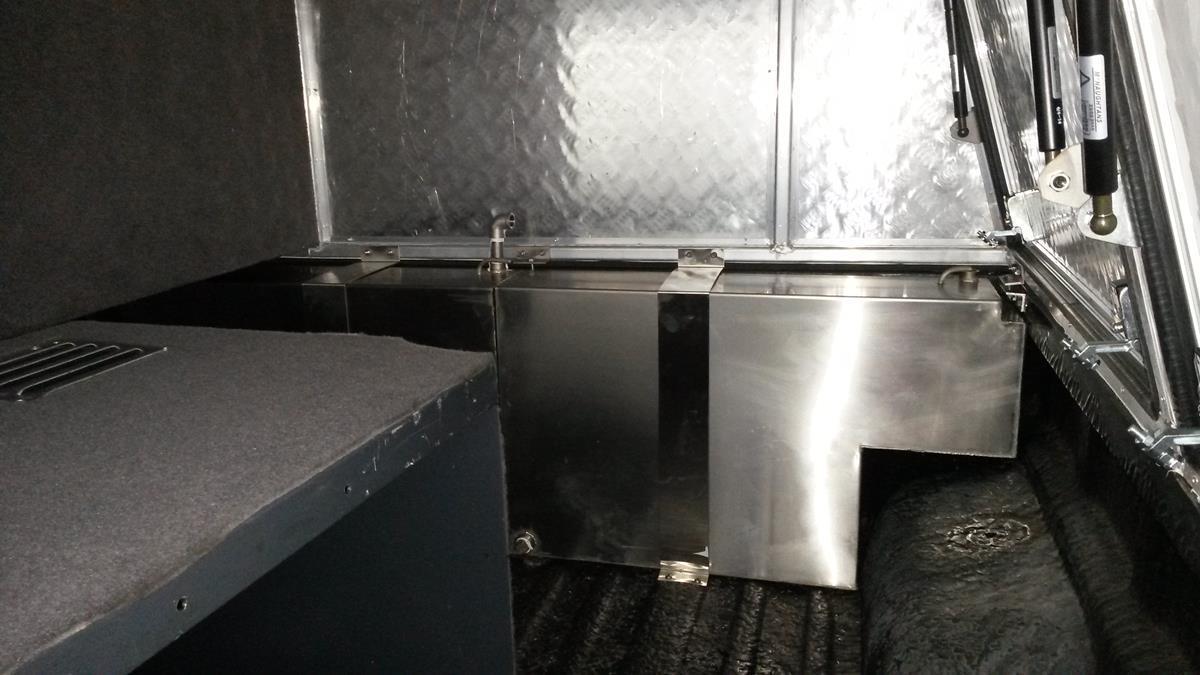
Two 70l stainless steel tanks (one for washing and one for drinking water) were positioned upright behind the cab, plumbed to two taps at the left rear of the vehicle. A Shureflow 10l/min 12v pump with a length of hose would enable us to fill the tank from any suitable water source.
Drawer and fridge
A long drawer, sliding to the rear, was bolted to the base of the load box and, adjacent to that at the right rear, a steel box with slides attached would accommodate our fridge/freezer, fuelling the seductive picture of sundowners tinkling with ice.

Dual battery system
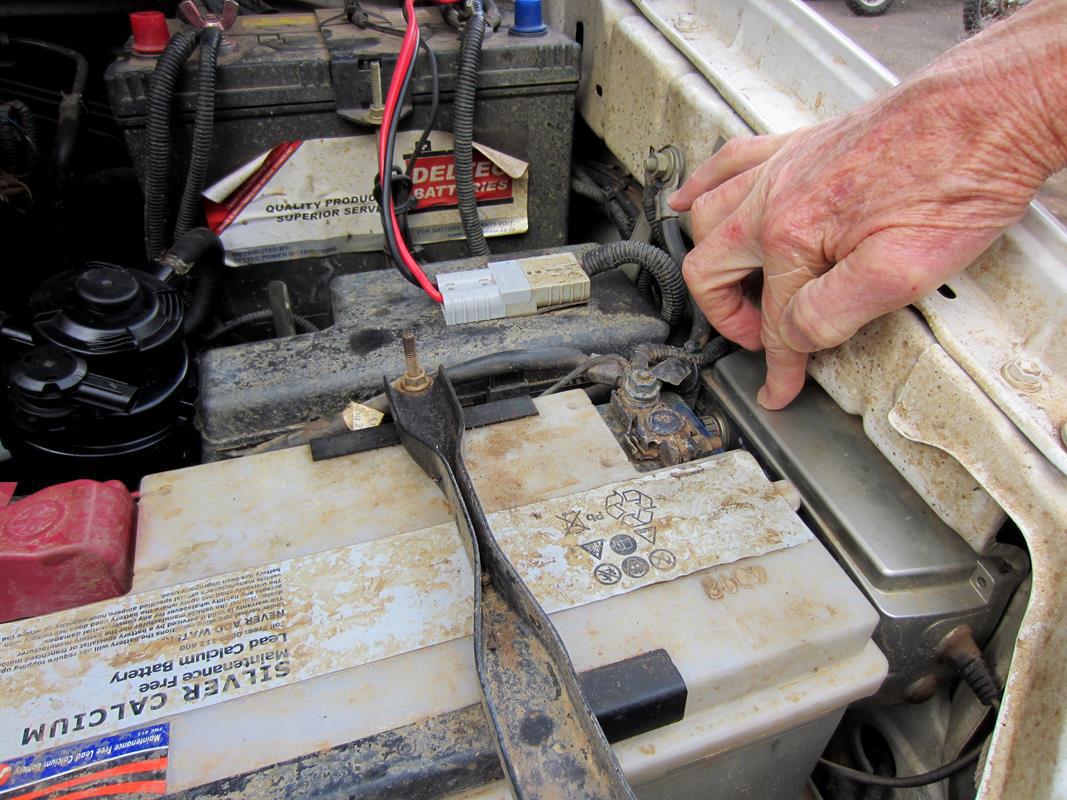
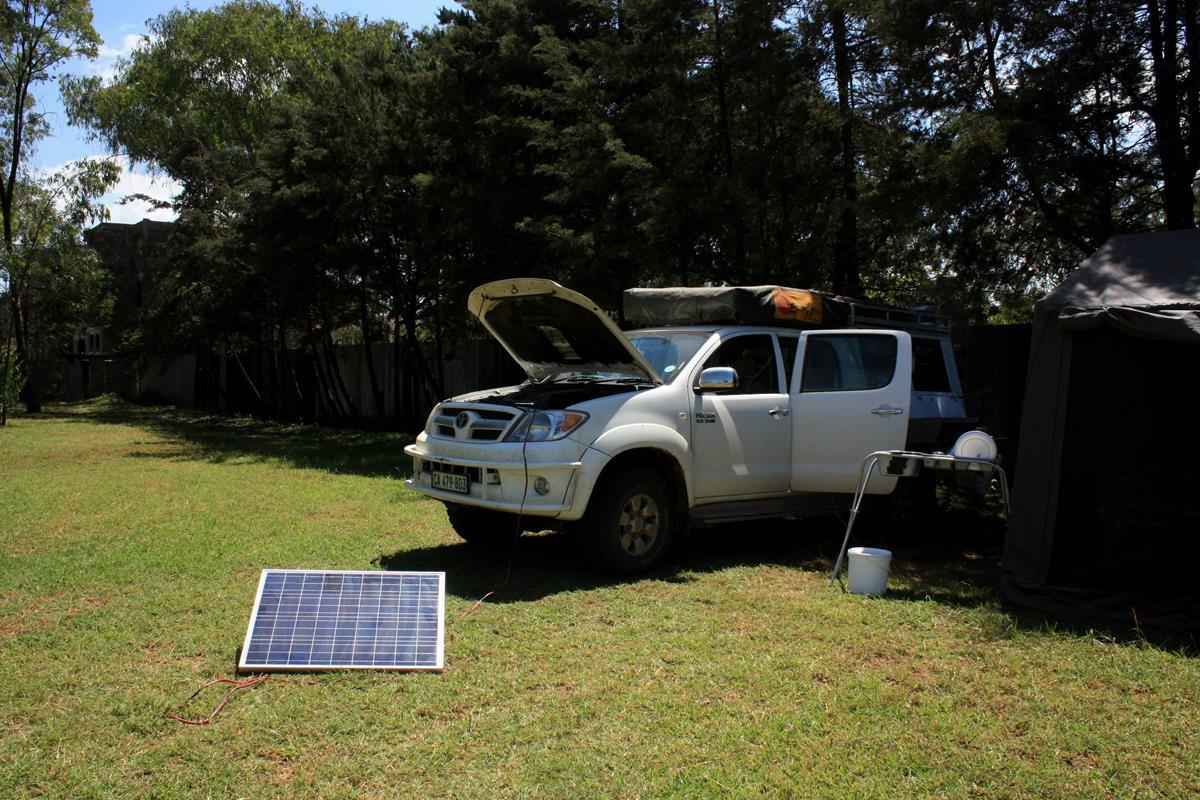
The fridge necessitated the installation of a dual battery system and an 85W solar panel to keep the service battery functional when standing over for several days. Solar input consequently meant the installation of a DC to DC smart charger to maximise utilisation of the total panel voltage output. This has been excellent, sustaining battery power even on cloudy days.
Awning
For shade and rainy days an awning over the kitchen was deemed essential and this has proven itself many times. The use of a silver reflector sheet over this during the day also helps keep us cool, providing almost deep, ‘tree quality’ shade when trees aren’t available.
Recovery kit
We opted for a mechanical gear jack as well as an inflatable jack, which miraculously using the exhaust gas, gets the whole front of the vehicle well off the ground!
A high volume air compressor is essential, as well as a quick release tyre deflator and the small but important valve inserts to replace those blown away into the sandy wastes. We have used our puncture repair kit on two flat tyres so far and also brought tyre gaiters, spare tubes, tyre levers and a full tool set. Spares include vehicle fluids and fuel, oil and air filters.
Electronics
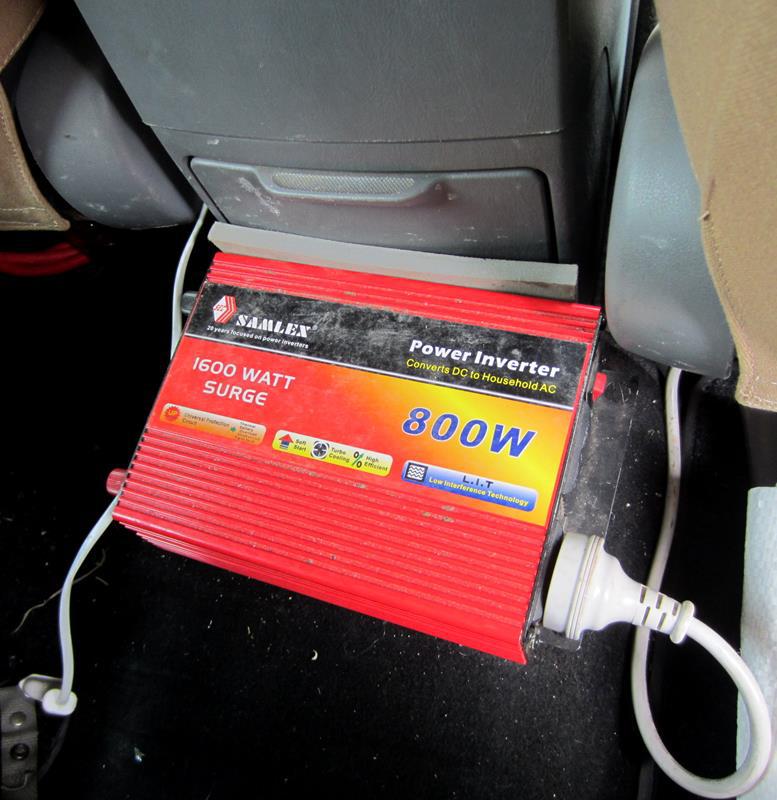
T4A installed a tracker into the vehicle and we could obviously not travel without a GPS loaded with T4A Traveller’s Maps. To keep computers, phones and camera batteries charged we fitted a 220v inverter, which proved to be well worth every penny! We ensured that we have sufficient SD memory cards and charging cables for all the electronic devices.
Camping equipment
A friend who did a Cape to Cairo trip a few years ago told us that a wash stand proved to be one of the most useful items on their trip. After being on the road for three months, we wholeheartedly agree with them! Basic equipment obviously include a dust pan and brush, kitchen utensils, a shovel, axe and saw.

The one thing that we really would not have done without is the pressure cooker. It cooks even the toughest meat in less than an hour and a whole chicken in about 20 minutes, which is a real blessing if you arrive late in camp. Once cooked, we add the spices and enjoy a five star meal!
Looking back
The completion of a one day 4WD driving course and bush mechanics course, both excellent, saw us ready to leave just a few days before our planned date of departure, 1 April.
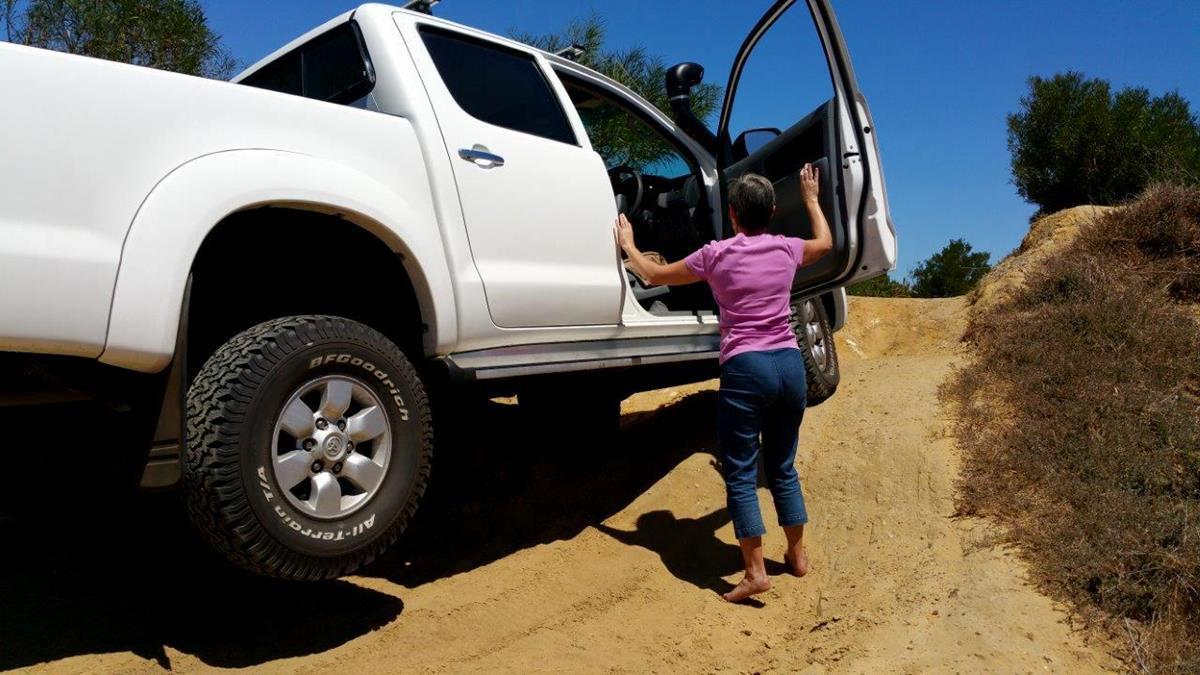
Now, three months into the trip, we realise how well advised we were on choosing a Hilux and fitting it out. Fuel consumption, one of the biggest trip costs, is around 10.5l/100km at 100kph on tar and has never risen above 12.3l/100km off-road, even with prolonged heavy sand driving.
One comment regarding the two tubeless tyre punctures we have had. Both required the insertion of two plugs; the first plug to be held in place with a pair of side cutters whilst the second is inserted to prevent it sliding out – especially if slippery (whilst wet) vulcanising solution is used. On our last successful effort we didn’t use this solution and cut the excess plug material down to tread depth so that it wouldn’t pull out due to the torque of tyre on the road.
Problems
One of the water tanks has developed a small leak, but fortunately still holds about 70% of its capacity and doesn’t merit the effort of fixing. The fridge slide, rated at 90kg, packed up about a month ago, shedding all its ball bearings, and we would recommend a much heavier slide to be used. Nevertheless, we are still able to slide the fridge in and out quite easily.
The rear brake shoes needed relining and the drums skimming in Nairobi, along with the replacement of the front left Munroe gas shock, which is still under guarantee.

Please advise where you did your 1 day 4×4 drive lesson. Thanks
Hi Peter and Karin – we look forward to every report you email – it brings back memories. After reading the last one, we regret that you never came and did a bit of shopping our garage, Peter!
Hi Karin and Pete. We have been following and enjoying your blog from the start as we are doing a similar trip to yours – currently in Buhoma, Bwindi for a Gorilla experience. Would love to know about your experience on the Serengeti roads. Had a report from someone coming from Jungle Junction that your suspension was trashed!
Alan and Denise
Very informative Karin thank you! I need to get one of those trackers. Then the masses can see the route taken as well. Fabulous and stay safe!
And a lot of thinking as well….
Woooot! there must be a lot of Rands involved. (And a lot of weight as well.) But for sure: prepared for all eventualities. Enjoy.
Hi Pete and Karin, glad to see that you are still enjoying your trip! Really enjoy following your write-ups.Keep them coming please.
So looking forward to our own trip to Nam in August.
Best regards.
Safe journey!