If you intend travelling off the beaten track, you should be familiar with your vehicle and be equipped to act as your own bush mechanic, especially if you intend travelling solo. Pete Barber did a bush mechanics course prior to our recent seven month solo return trip from Cape Town to Ethiopia and also learned a lot during the journey, which he gladly shares.
General
The golden rule is to inspect your vehicle often and check for things that work loose. Bear in mind that your vehicle will be exposed to continual, very destructive vibration, therefore you should perform routine tighten up checks. Also learn to listen for any unusual noises whilst driving and investigate them immediately.
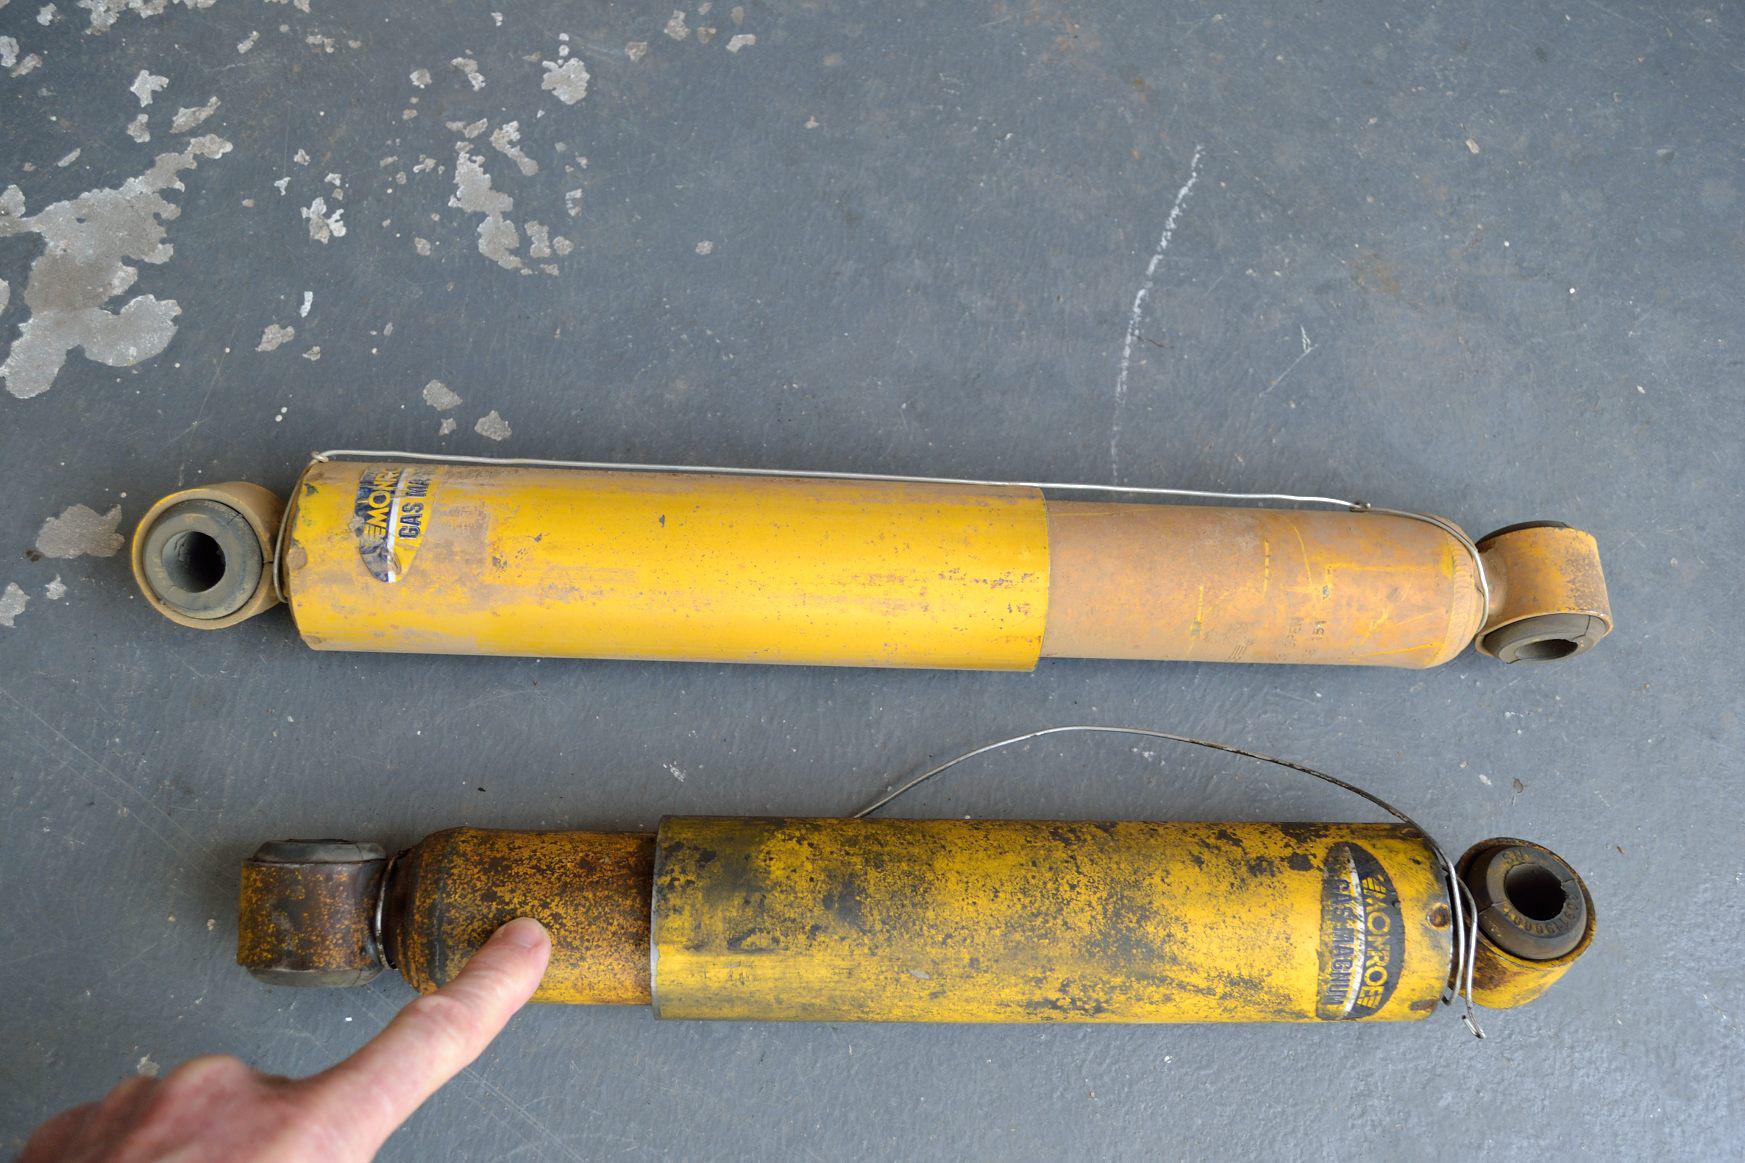
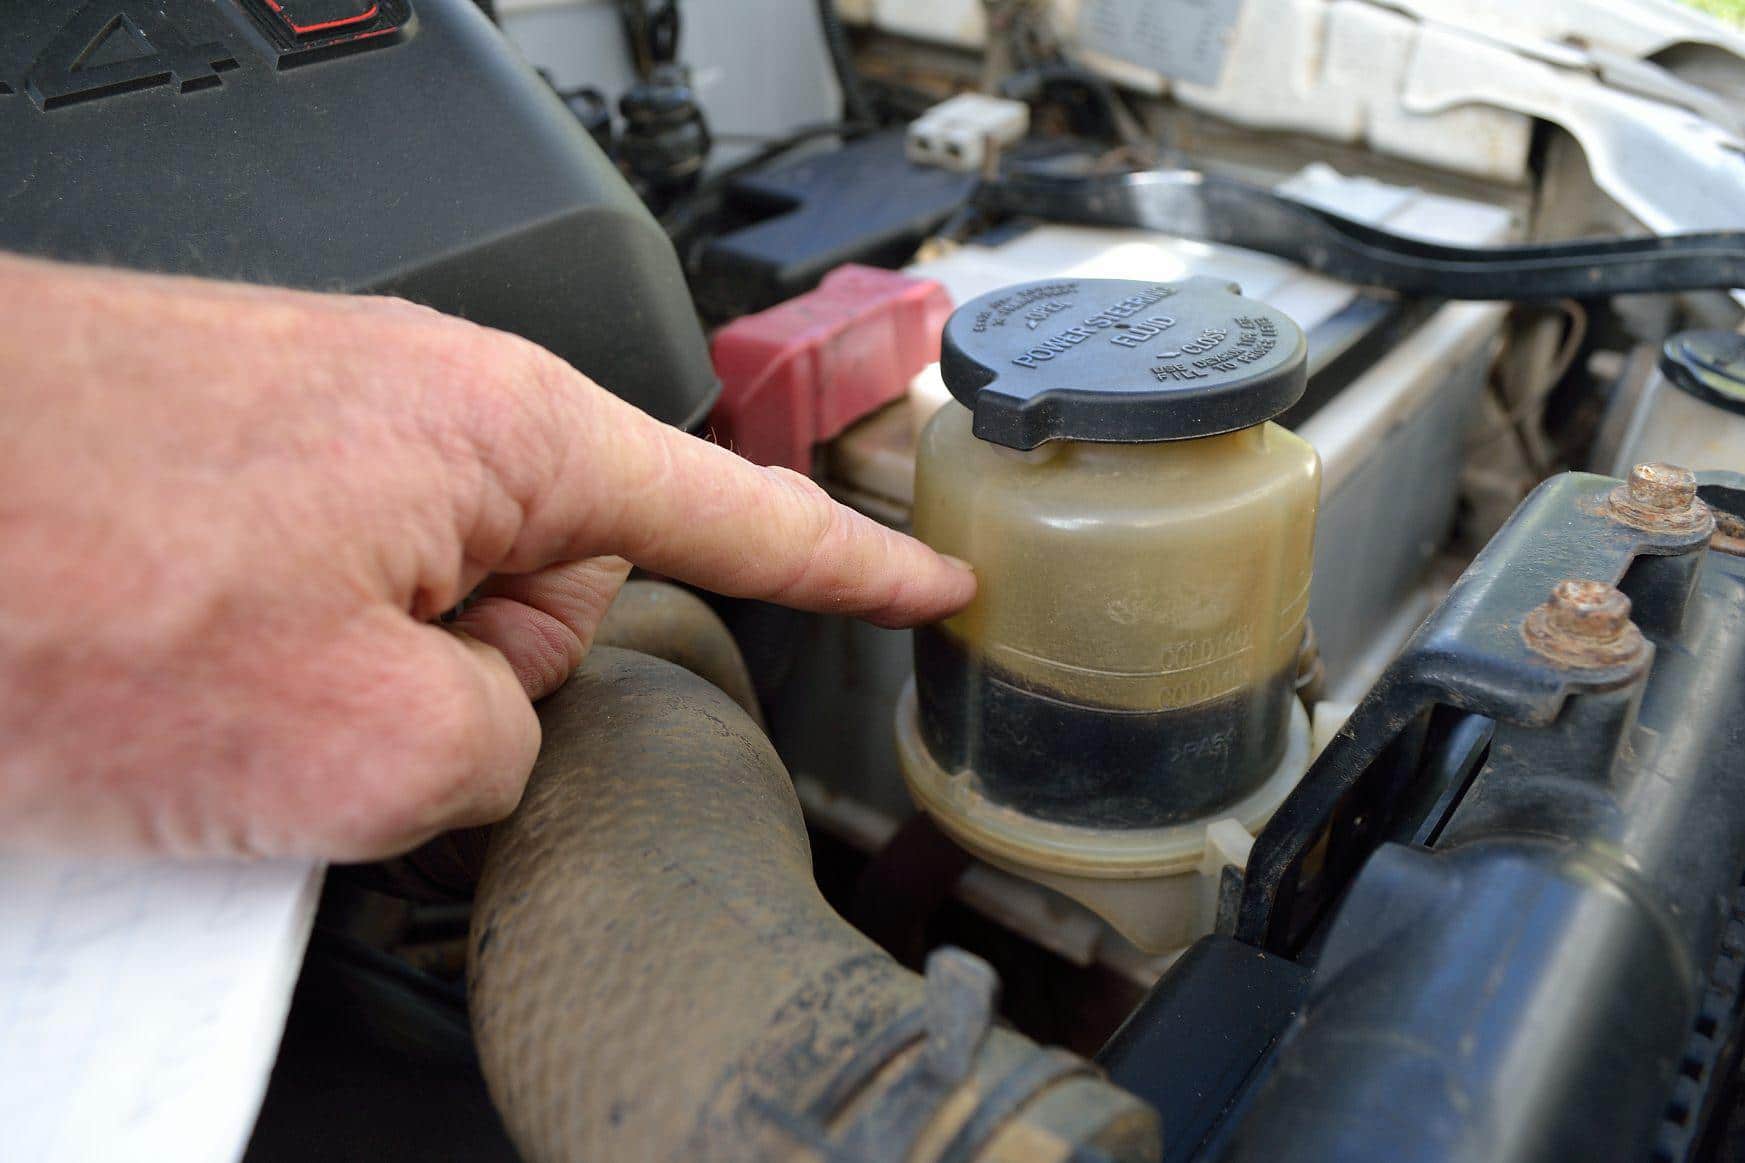
By regular inspection get to know how things should look inside the engine compartment and underneath the chassis so that you will notice anything different. Any sort of dust adhering to spilt fluids are indicative of a problem, e.g. on shock absorbers, from transmission seals, the engine, etc. Have these attended to as soon as possible.
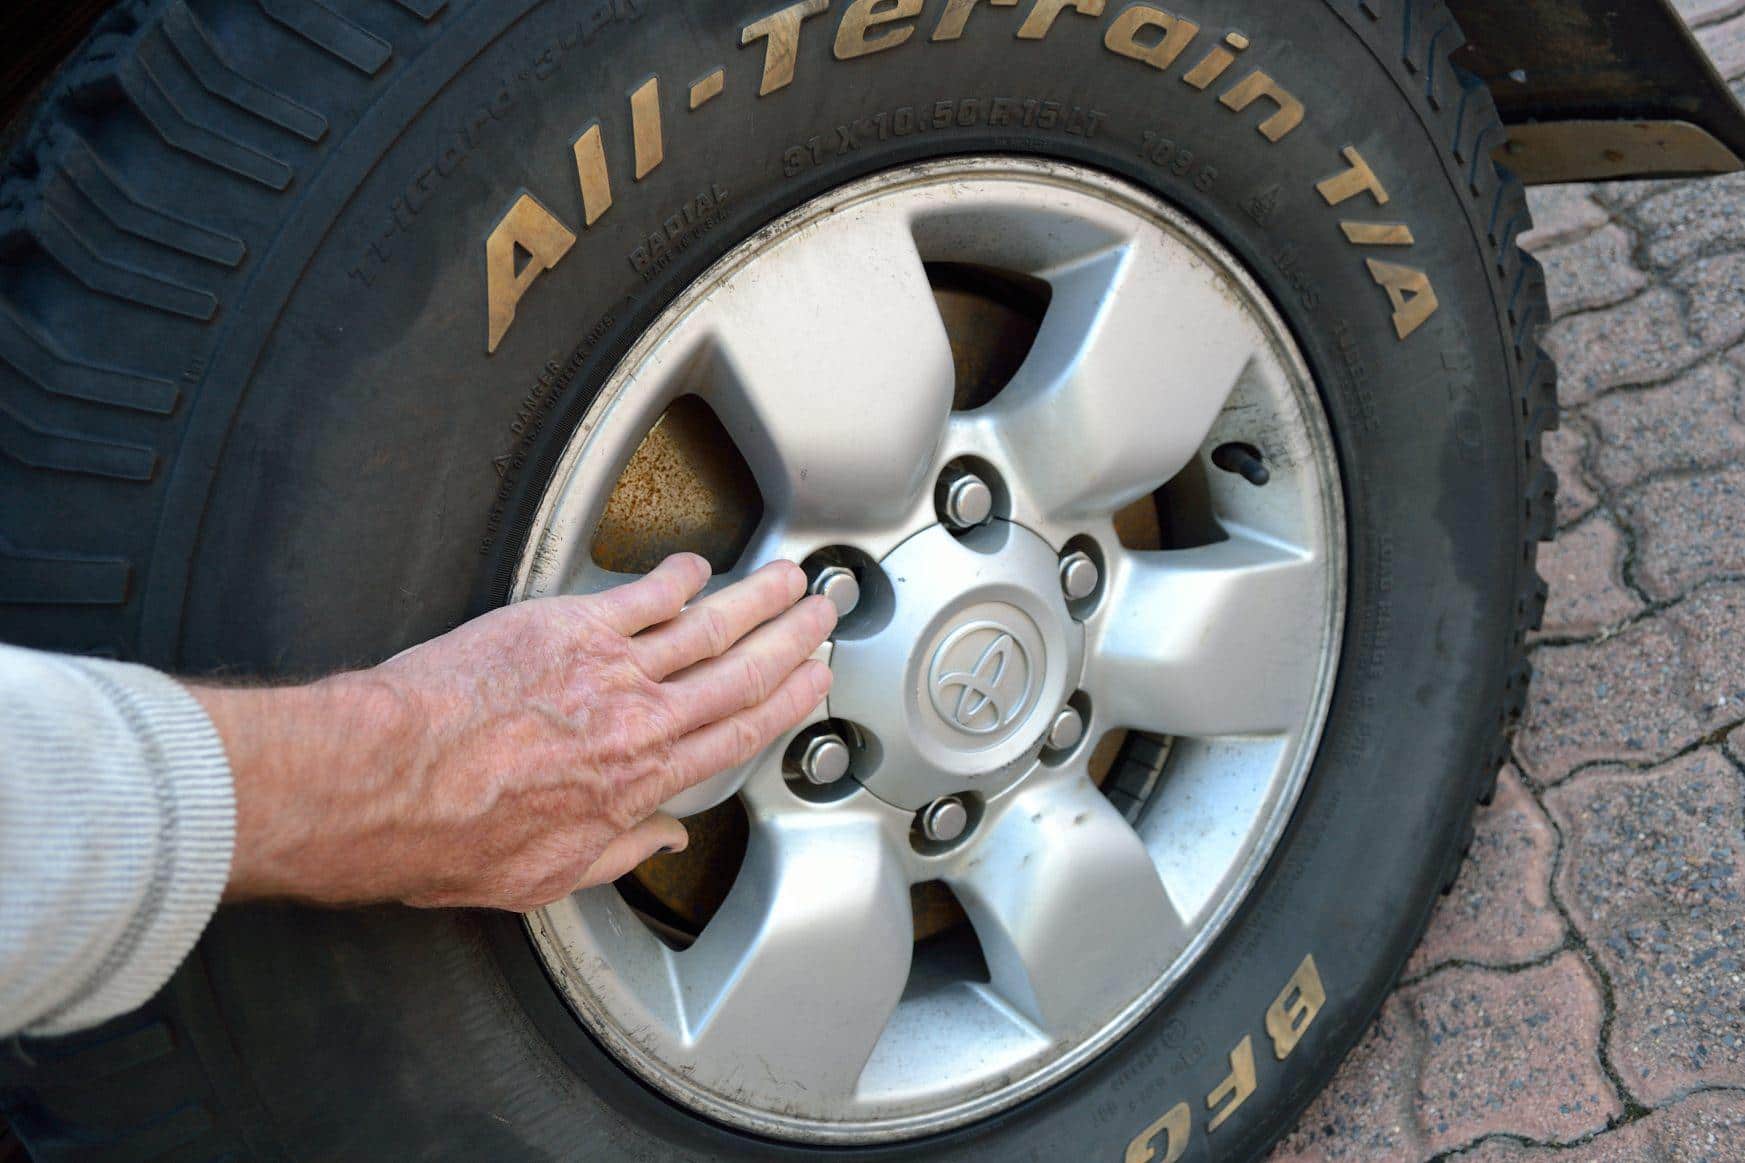
Also, each time you stop on the road and exit the vehicle, look at the tyres to make sure they are okay. If you repair a punctured tyre in the nick of time, it will prevent writing it off.
Jacking up the vehicle
Remember that if you crawl under a jacked-up vehicle and it falls off the jack, it will crush you. So make sure that you have stops in front of and behind at least two wheels and never get under the vehicle unless you have supported it with something that cannot be crushed by its weight (not bricks). If the vehicle is on a slope you have to be doubly careful.
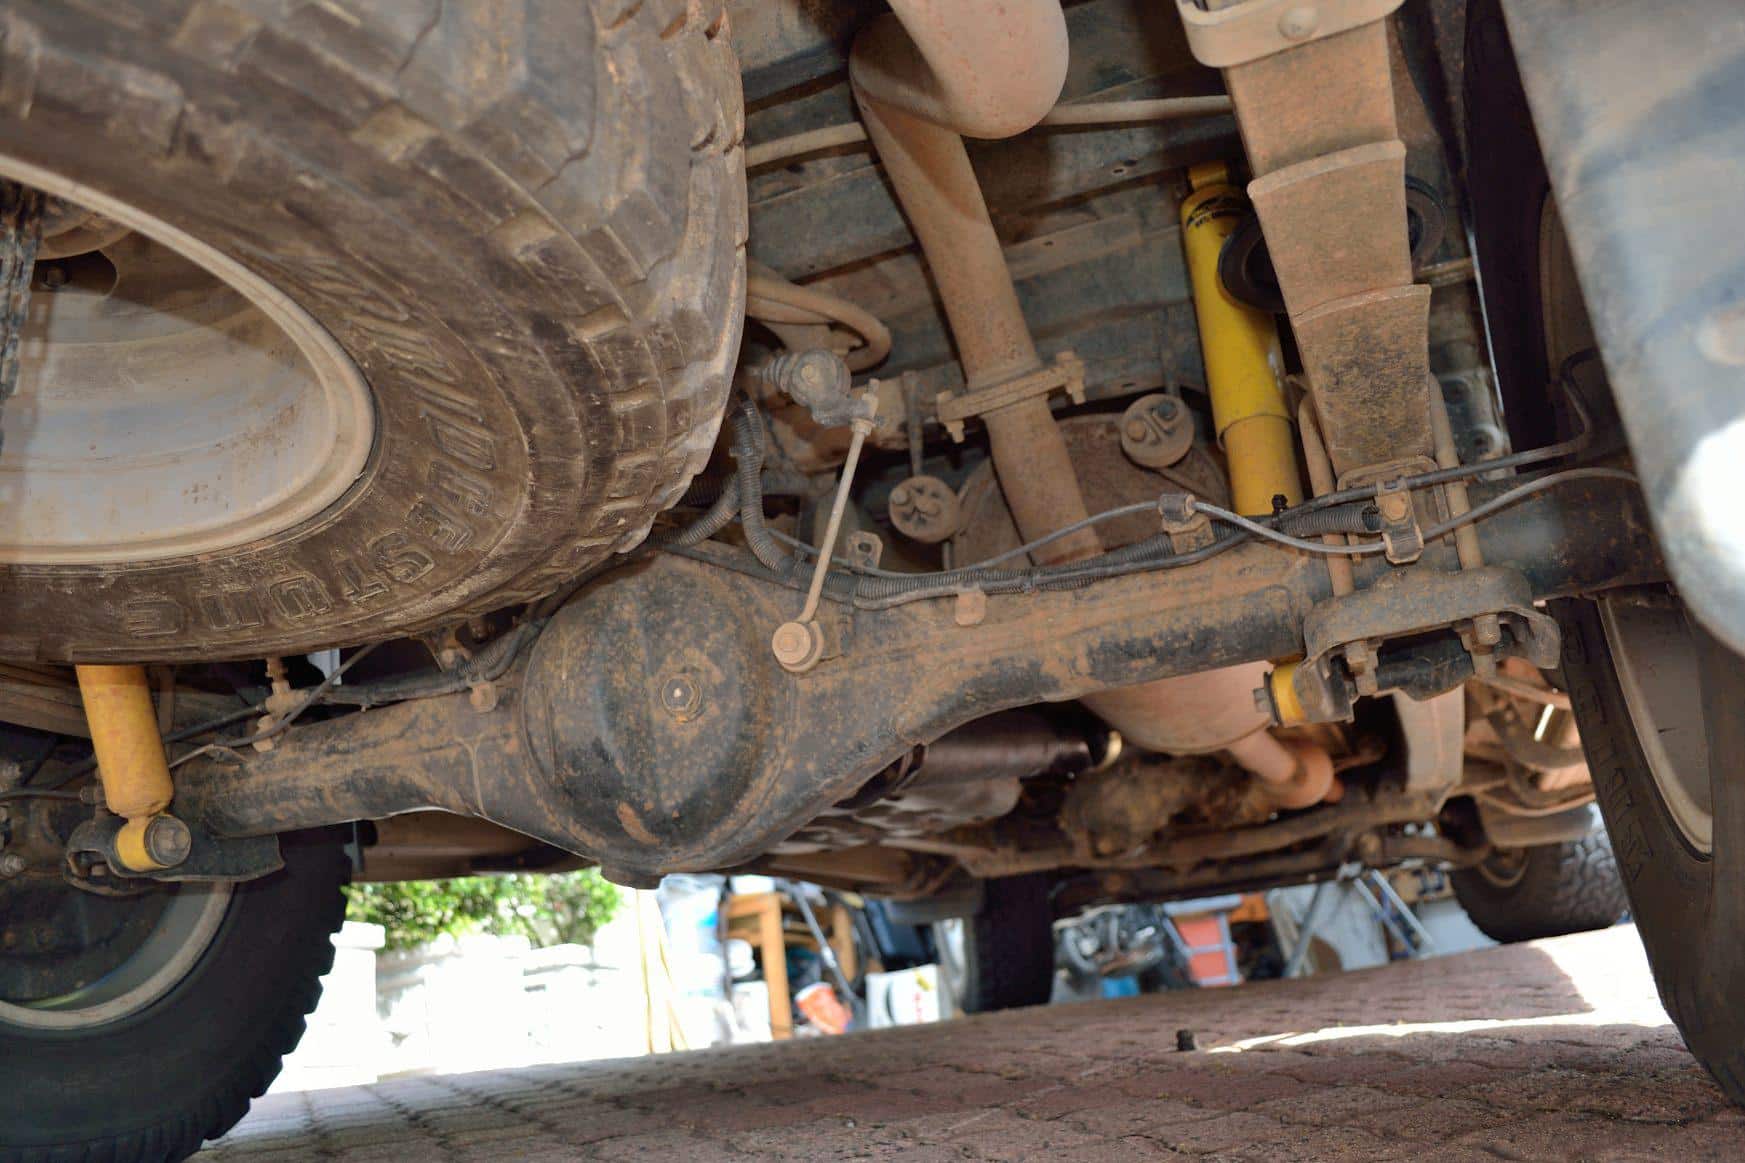
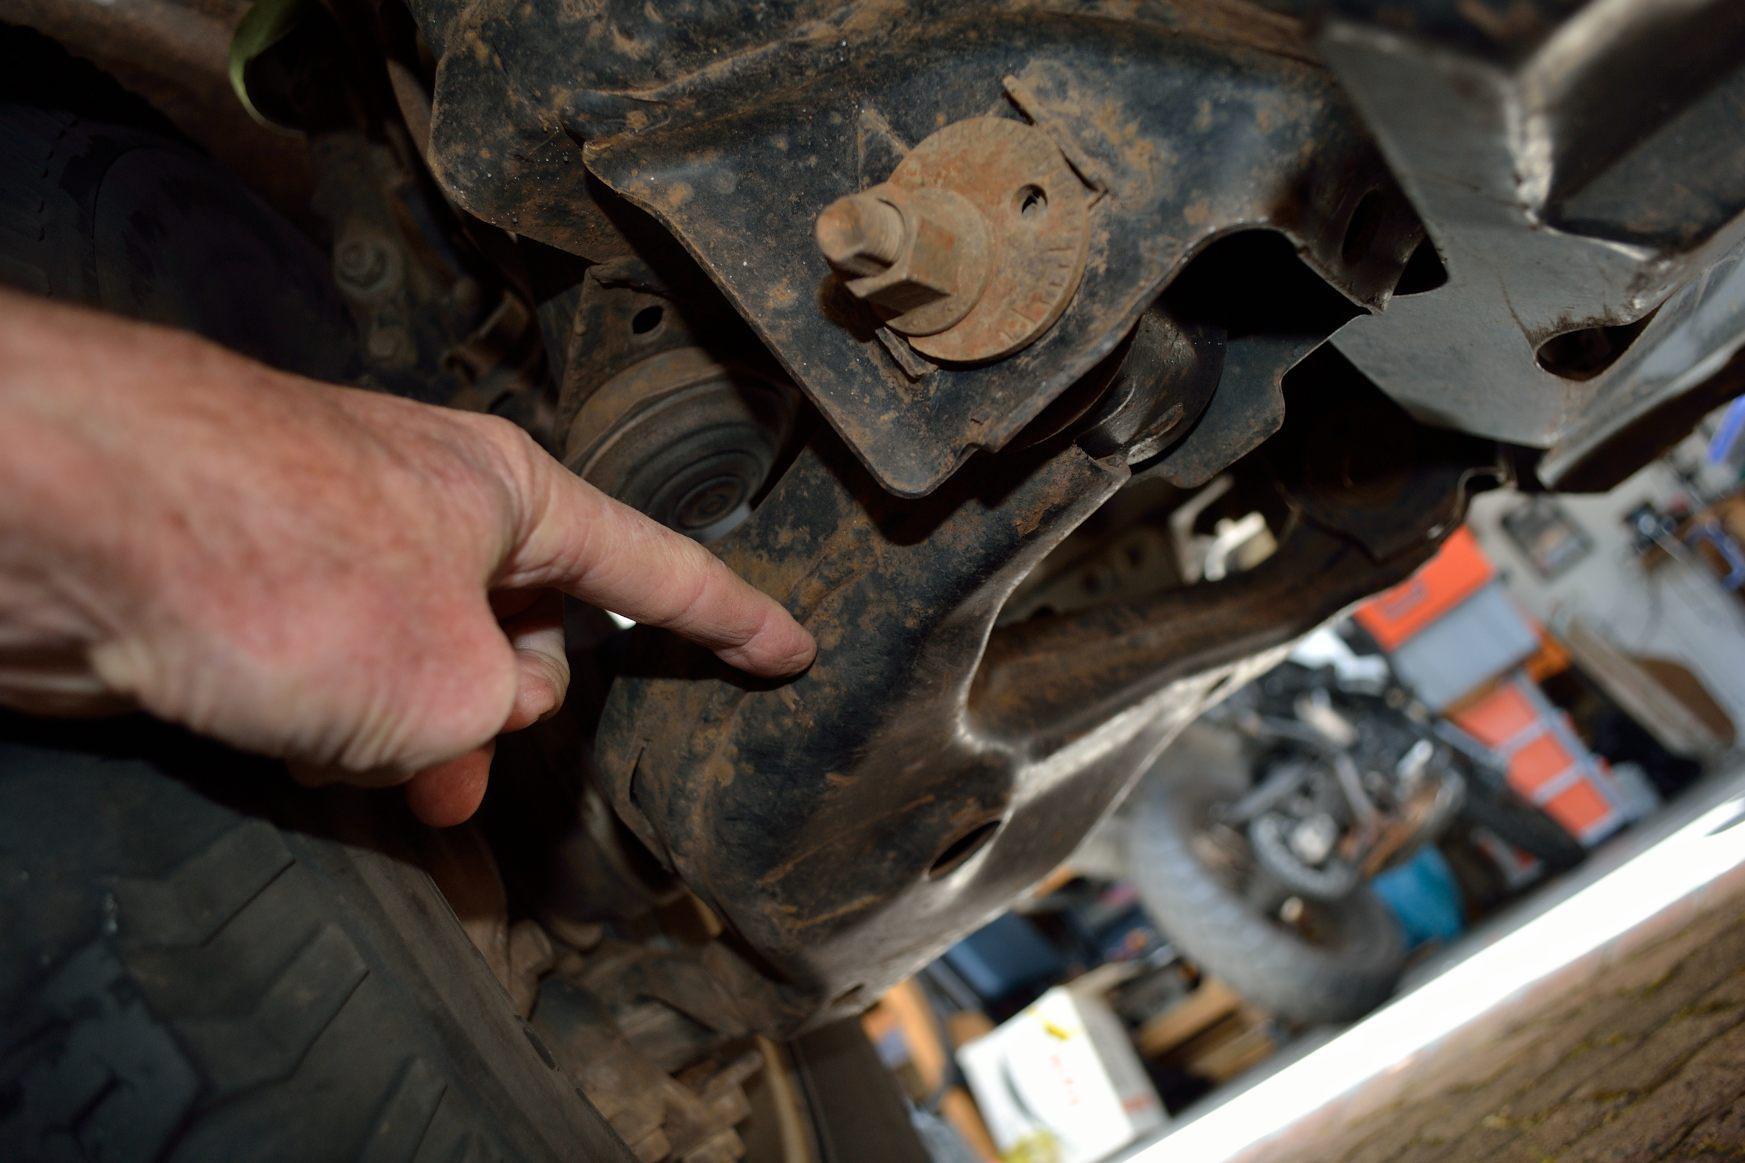
If your vehicle has a solid axle (eg Toyota Hilux) you should jack up the rear by putting the jack under the diff or along the axle. To jack up the front, put the jack as near as possible to the wheel on the wishbone just inside the wheel. If you use an air jack, you will also need to place it near these points and ensure that you do not use it near the exhaust, as the bag will melt.
Electrical
If smoke comes from the vehicle, disconnect the negative (black) terminal on the battery immediately and have your fire extinguisher handy in case of flames.

Blown fuses should always be replaced with the same amperage fuse. If you don’t have a spare of that specific fuse, use a non-critical fuse from elsewhere in the vehicle.
If the vehicle doesn’t start, first check the battery connections using a meter. Put the red meter lead on the red positive battery terminal and the black lead on the chassis. This reading should be the same as that across the battery terminals. If you have to install or reconnect a battery, connect the positive first (to prevent spanners from shorting on anything that they touch).
Make sure that the right thickness of wire is used to connect up fridges etc. to the second battery as thin wires cause a voltage drop. A good starter battery normally shows around 12.8 volts on the meter. A battery with a reading of 12v is flat and will not start the vehicle.
Use a volt meter to test fuses by setting it to 20v DC, earthing the black lead to the negative terminal and touching the red lead to either side of the fuse. A good fuse will show voltage on either side.
To check a positive wire for a short circuit, disconnect the wire, then put one lead onto the positive wire and earth the other. Continuity will indicate a short circuit. A wire continuity check is done by disconnecting the wire first. Then set the meter to ‘continuity’ and check from both ends of the wire for a reading.
Brakes
When new brake shoes have been fitted they may rub against the drum as they wear in, generating heat. Enough heat will melt the grease in the wheel bearings which will drastically shorten their life. So, when driving, it’s a good idea to feel for heat on the wheel after a job like this has been done. If it’s too hot to keep your hand on it, the brakes require re-adjustment.
Brake fluid is very poisonous and can strip paint off the vehicle. Wash any spills off with water, but do not rub. Brake fluid should be changed every second year as it absorbs water and can rust the brake system.
If a hydraulic brake pipe breaks, fold it over, crimp to seal it and bleed the system as follows:
- Fill the brake fluid reservoir.
- One person pumps the brakes about ten times and then holds the pedal down to maintain the pressure. Starting with the wheel that is furthers away from the fluid container, the other person loosens the brake nipple and immediately tightens it. If you have an extra pipe with you, attach it to the nipple and collect the fluid in a clean container in case you run out and need to re-use it.
- Pump the brake pedal ten times and hold it down again. Loosen the nipple and tighten immediately. Repeat this until no more bubbles come out when the nipple is opened.
- Then do the rear right wheel and so on until you get to the wheel closest to the fluid reservoir. Check that the reservoir does not run dry and is full when finished. Never use any substitute for brake fluid.
Clutch
You will know you have a clutch problem when the pedal collapses to the floor. The system may be leaking or the master cylinder could have failed. Unfortunately most modern systems are hydraulic and cannot be repaired.
However, the vehicle can be started in second gear and then driven. To change gear, remove your foot from the accelerator and let the vehicle coast so that there is no pressure on the meshing gears. Move the gear shift to neutral for a second and then shift to the next gear.
Fuel system
Try not to fill up with fuel sold in containers on the roadside as it may be cut with paraffin or have water in it. A special filter funnel (available from overland shops) can be used to minimise water getting into the tank.
If the vehicle jerks, it may indicate a problem with the fuel supply or you can have water in your fuel. If there is a lot of water in your fuel, you may need to have the tank removed and cleaned and the filter(s) replaced.
Take great care of what goes into your tank. If petrol is put into a diesel tank by mistake (or vice versa), it has to be drained and cleaned. Do NOT start the vehicle as it may cause the engine to knock and damage it badly.
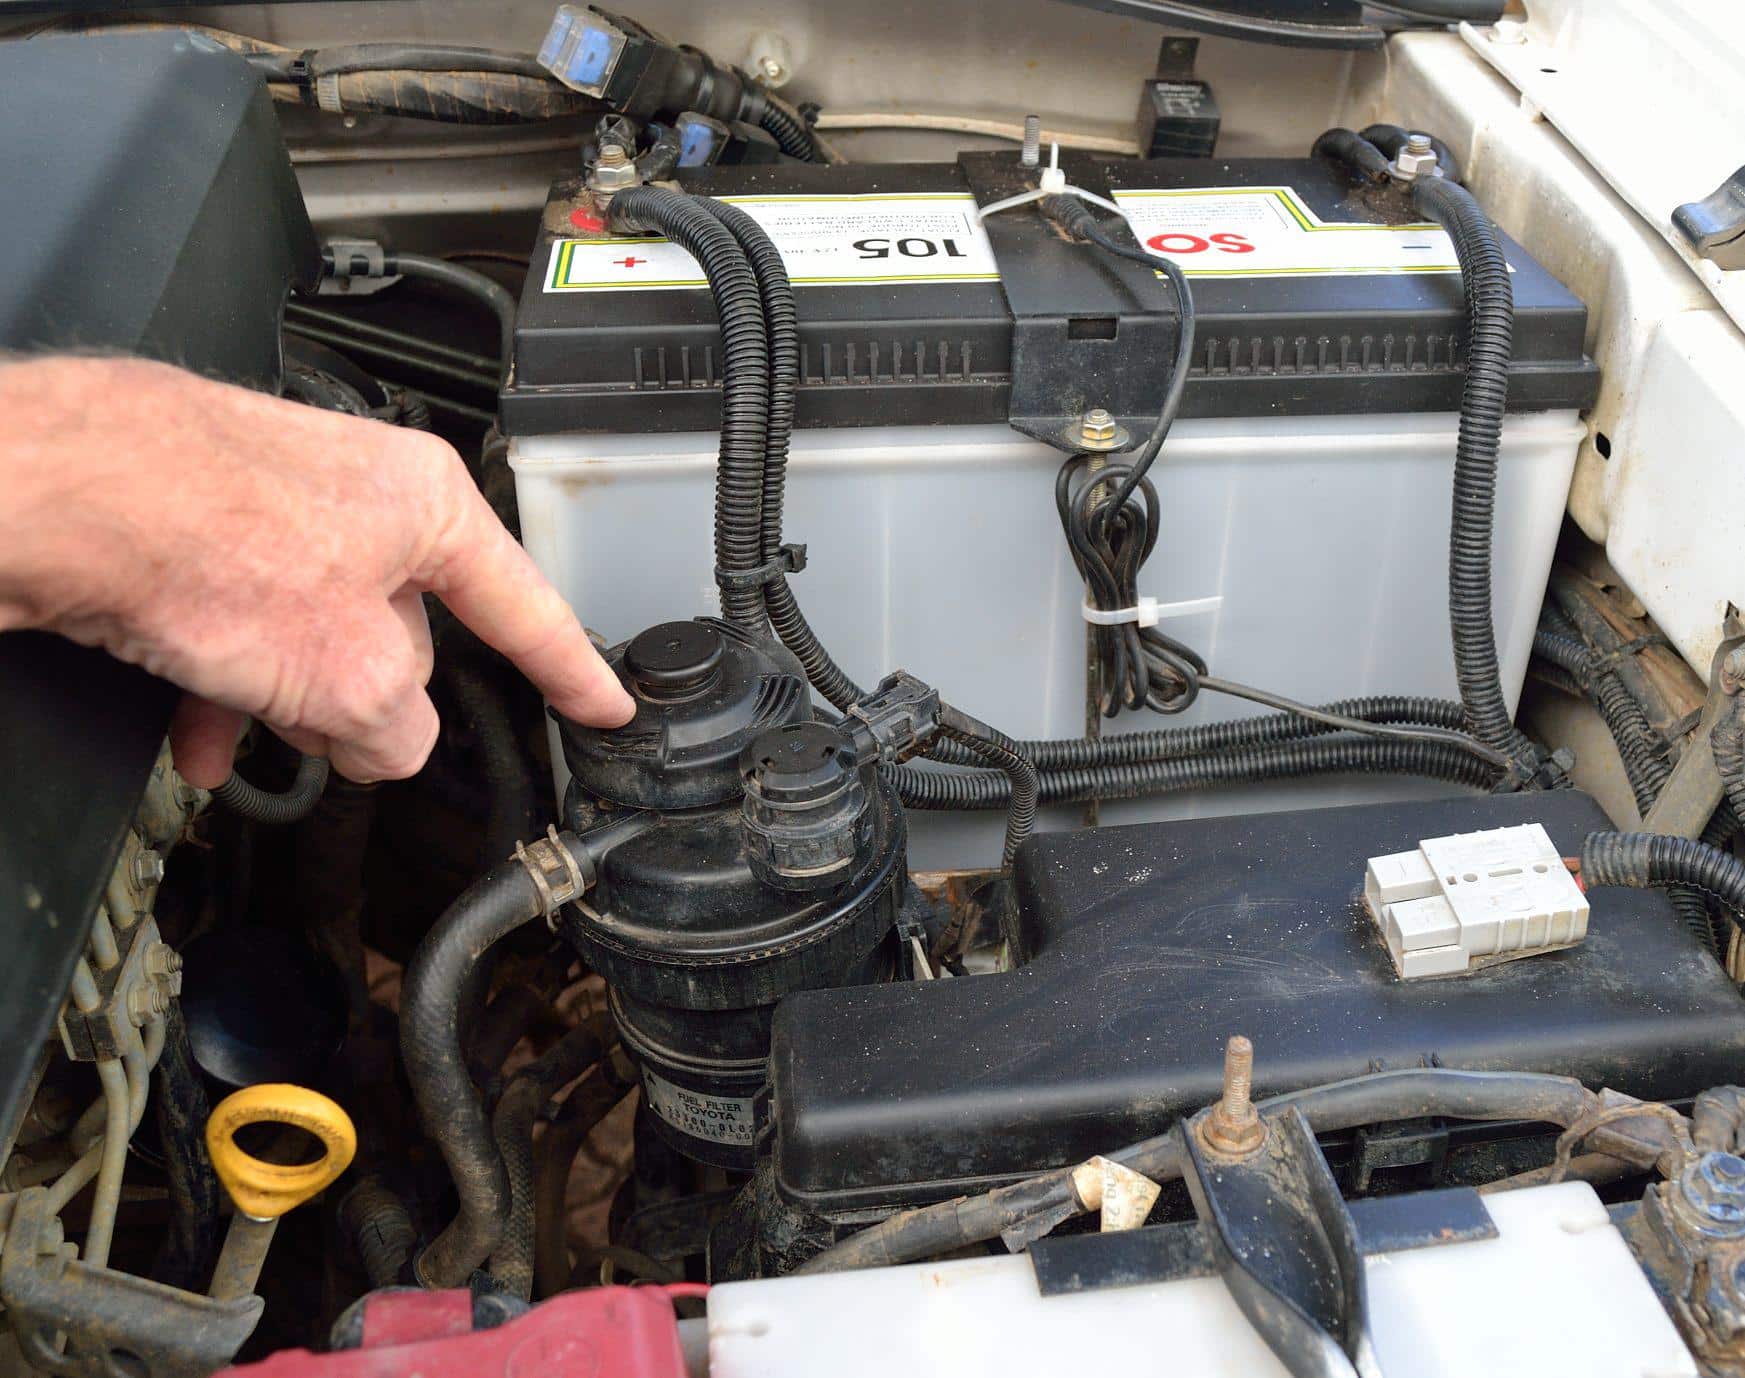
When changing a diesel filter, always fill the new filter with fuel prior to putting it back. This minimises bleeding. To bleed the system, empty out the water by opening the plastic wing nut at the base of the filter. Let liquid run out until clean diesel appears. Then look for the outlet side marked with an arrow on the fuel filter housing. Disconnect this and pump the button on top of the fuel filter housing until diesel comes out and all the air had been removed. Reconnect the pipe. If the vehicle is difficult to start, then pump the button whilst someone turns over the starter motor.
Note that any break in the fuel system requires bleeding.
Cooling System
If the temperature gauge goes up, the thermostat could be stuck in the closed position. This is initially closed on starting to bring the engine up to temperature (78 deg C) as soon as possible. However, if it remains closed the engine will overheat. The thermostat is a mechanical spring operated device and should be removed if it malfunctions. This will only mean that the engine takes longer to get up to operating temperature.
Check the temperature of the radiator inlet and outlet pipes and if one is much warmer than the other, the thermostat may be faulty.
Once the thermostat has been removed, refill the cooling system with water if that’s all that is available but preferably use anti-freeze coolant. Switch on the cab heater to open that circuit of the cooling system. Run the engine with the radiator cap off and keep adding fluid until it is full.
If the radiator cap leaks, pressure will not build up in the system and it could overheat and boil. Periodically check the rubber ‘O’ ring in the cap, especially before a long trip, to make sure it is still soft and not cracked. Replace a leaking cap as an overheated engine can cause other pipes to fail.
A leaking radiator can be fixed by adding radiator sealant, or the tube that is leaking can be cleared of cooling veins on either side of it, broken in half and both ends bent over to form a seal. The radiator may have to be removed to do this.
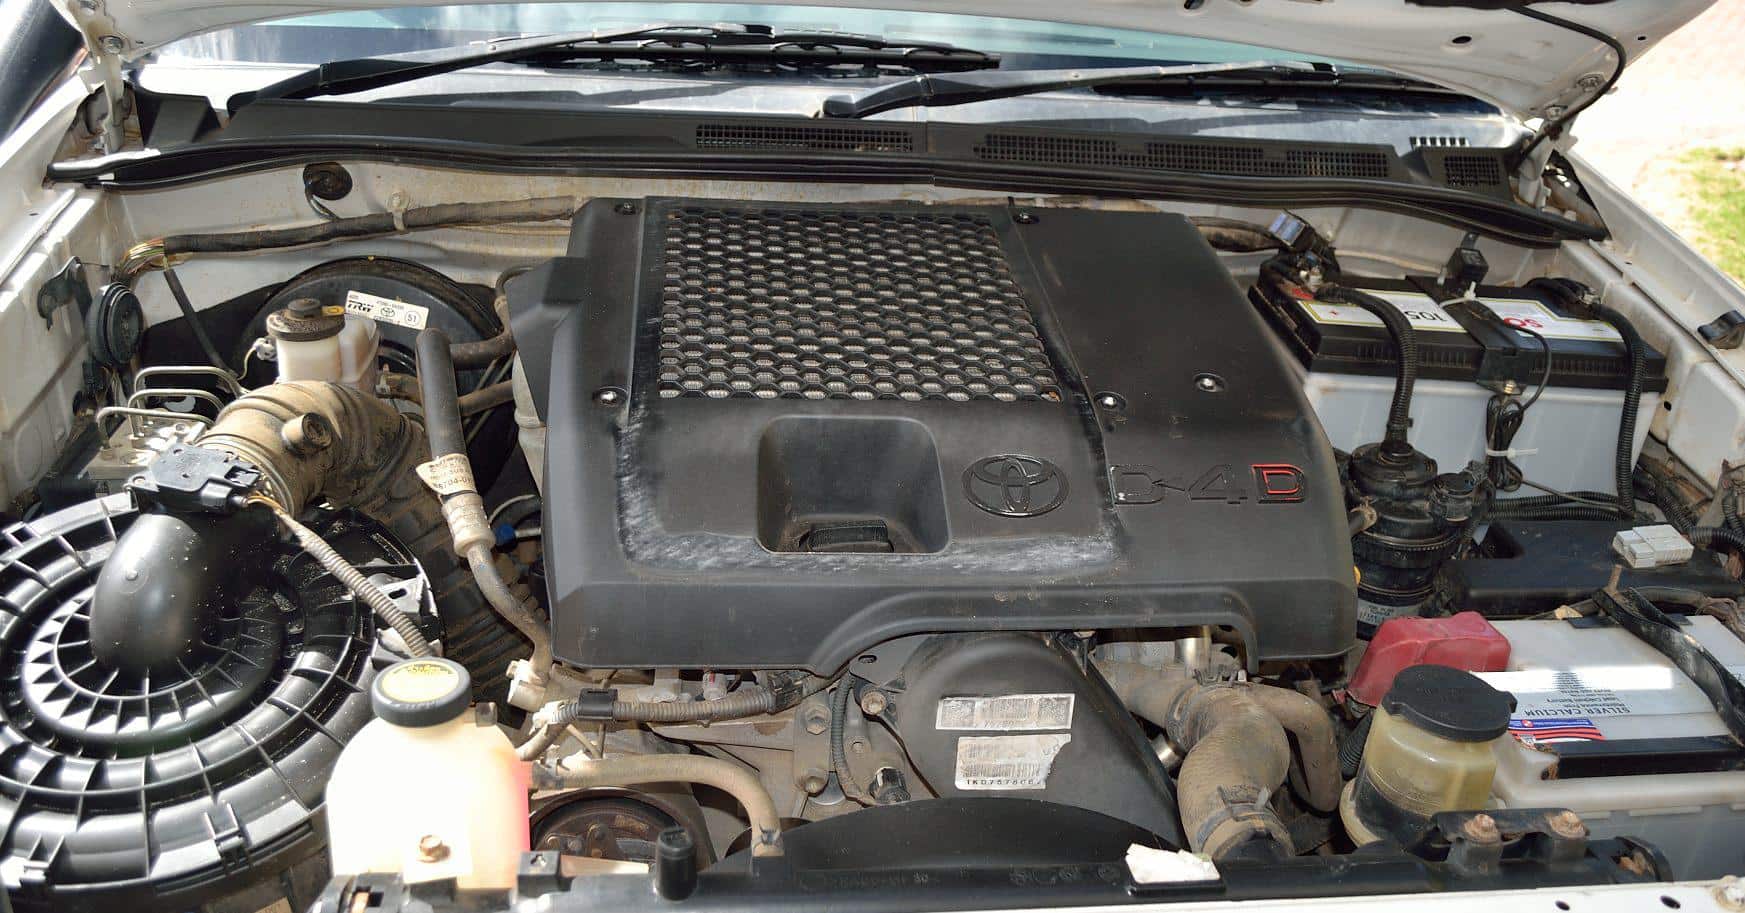
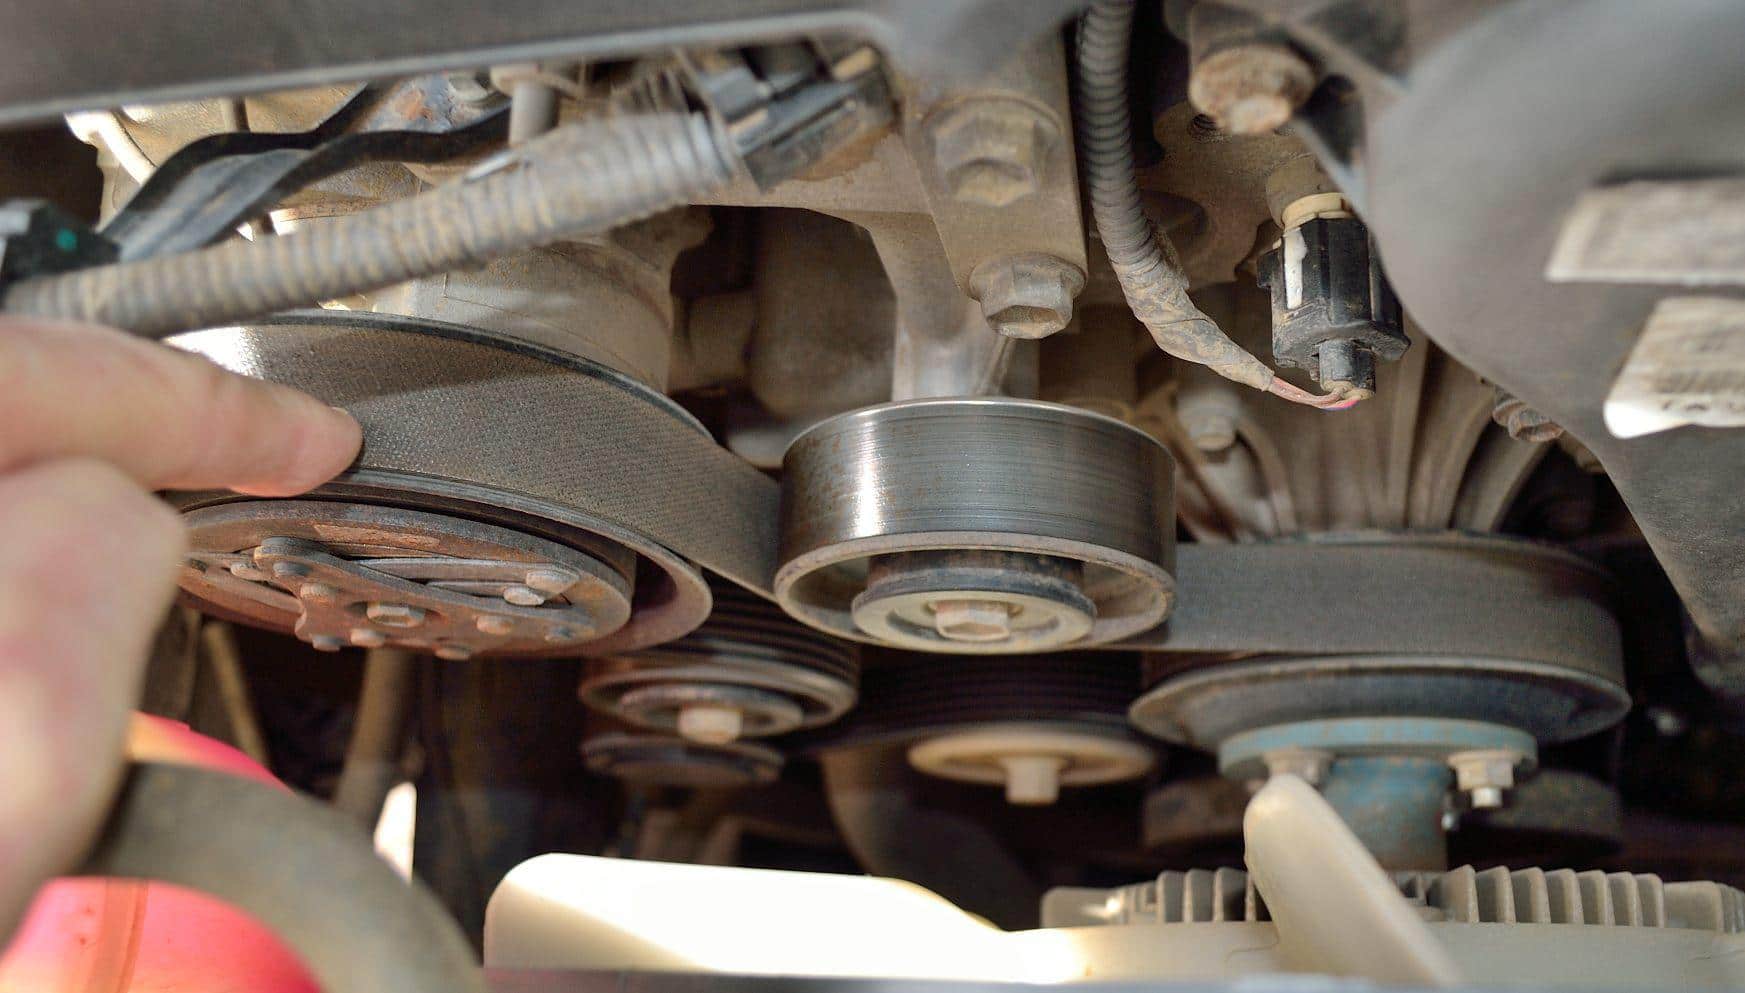
Drive Belts
One belt runs all the accessories on the Hilux, such as the water pump, air conditioner, alternator, etc. Take photos of the correct routing and the tensioning nut before it is stripped. If this belt breaks then all the lights on the dashboard will come on.
Wheel alignment
This can go out if you hit a rock and bend one of the alignment rods. To correct this, loosen the adjusting nuts and face the bend towards the ground. Use a jack to straighten the rod and then align the wheels using a rope. Get this rod replaced and the alignment done properly as soon as possible.
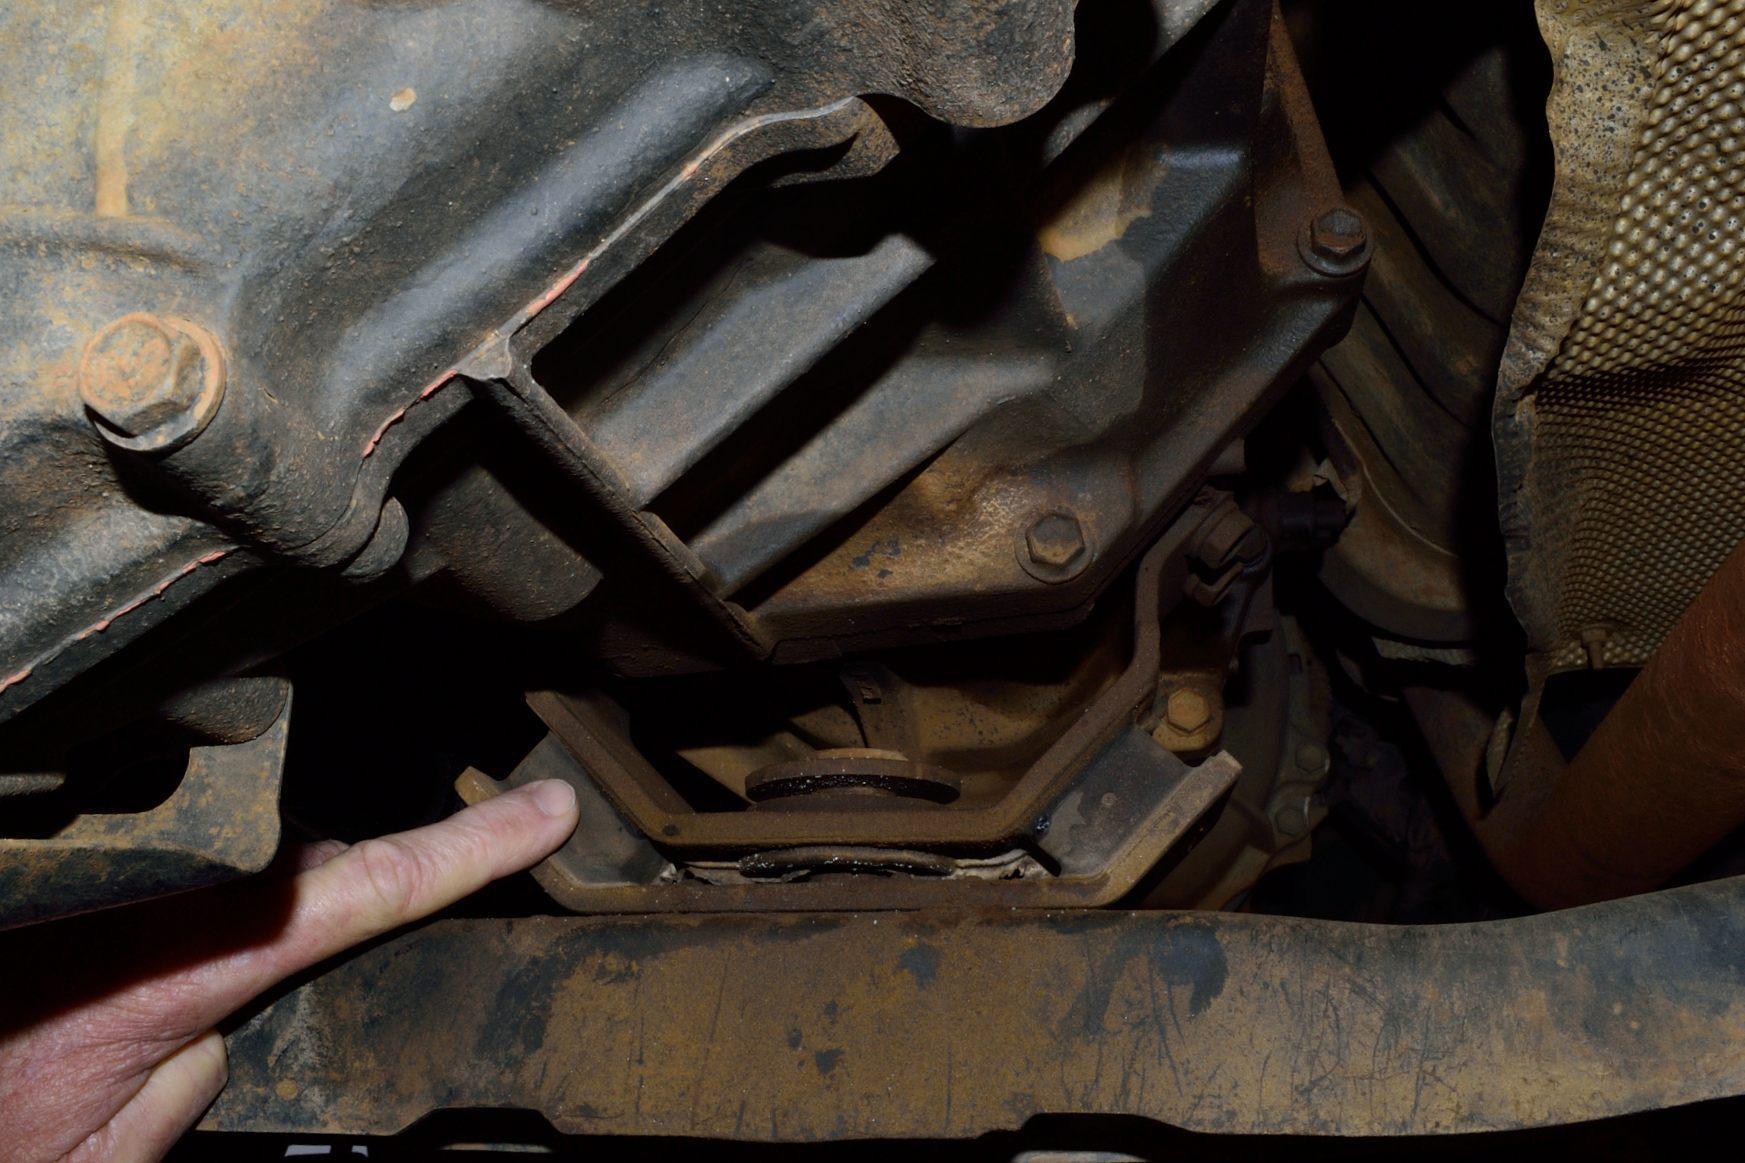
Engine/gearbox mounts
Problems usually relate to the rubber mountings shearing off and the motor lifting to one side due to the torque, especially when driving uphill. Strap the item down with a good ratchet strap to stop it lifting until you can have it repaired.
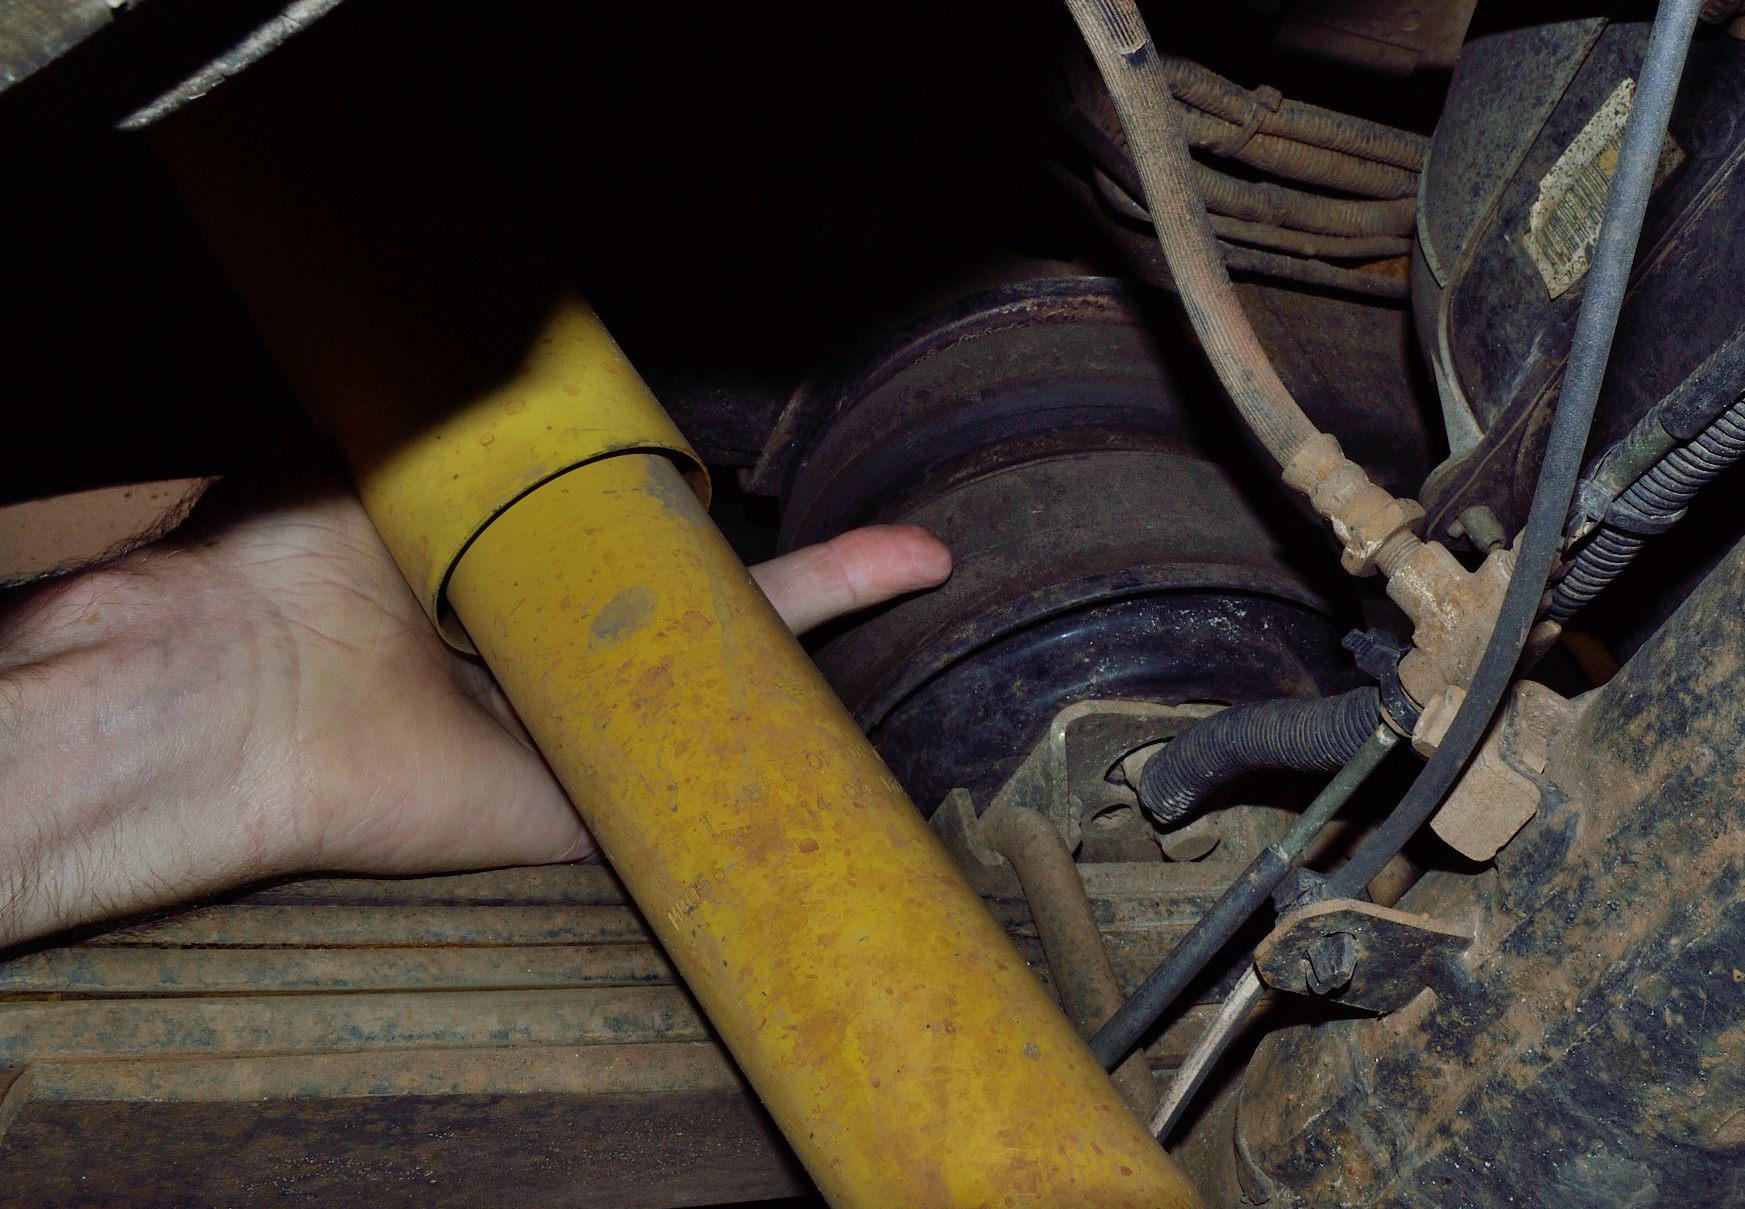
Broken coil or leaf springs or shocks
If the suspension has collapsed, wedge and secure a log or something large between the axle and the chassis to prevent the sag. In the case of air suspension, make sure that the spring leaves cannot move forward or back. If a shock mounting or eye breaks off, remove the shock and repair it as soon as possible.
Exhaust repair
Use Gun Gum to repair holes in your exhaust if you want to use an air jack.
Fuel tank leaks
Seal leaking fuel tanks temporarily by cleaning the site of the leak and then rubbing soap into the crack.

Good recommendations.
Is it an idea to have T4A organise bush mechanics courses?